
Cleaning my Dust Collector’s Canister Filter
The first sign that there was a problem was that my jointer kept clogging up my pipes. Chips started ejecting from the cutter head instead of disappearing neatly into the plumbing. Planing a stack of maple boards for some cabinet doors was becoming an exercise in frustration. Plane a board, unclog the dust collector. Plane another two, unclog the dust collector.
Now, the experienced among you already know what was wrong.
The second sign was a whistling sound coming from the corner of the shop. I was confused and alarmed. I stopped the jointer and went over to investigate. Putting my hand next to the seal around the base of the canister, I discovered that the whistling was the sound of massive amounts of air blasting between my canister filter and the mounting ring on my Delta 50-760 dust collector. Confused, I shut off the dust collector and finished my jointing. I figured that the canister had been bumped out of alignment and wasn’t seated on the ring properly.

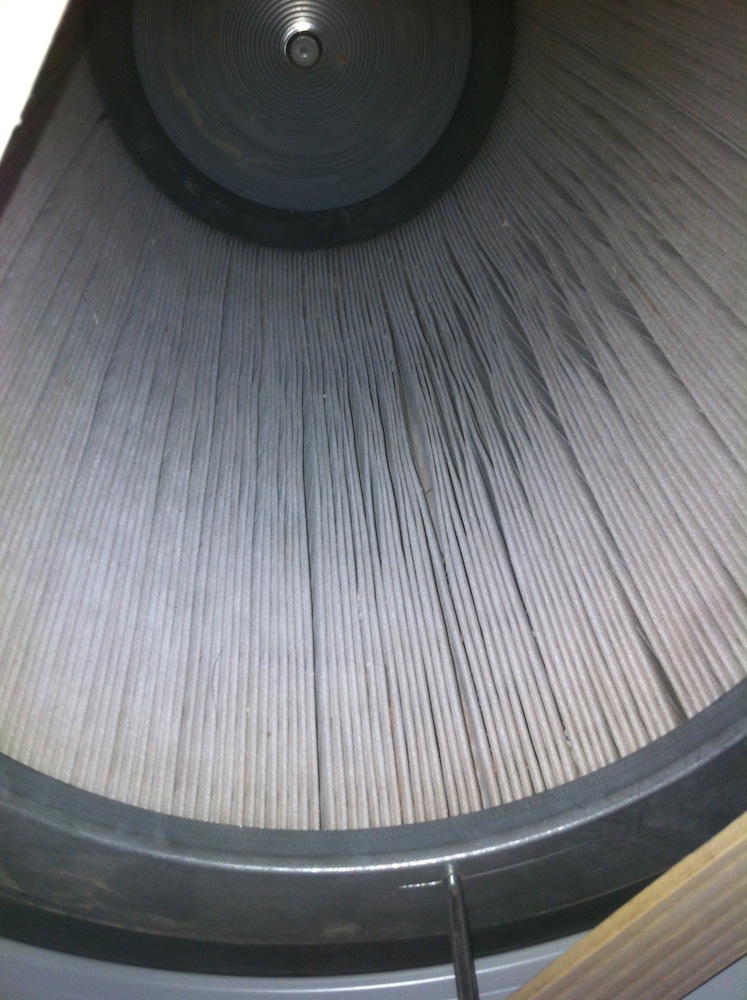
This is what happens when you forget to clean your filters regularly.
It wasn’t until a few days later that I realized what was wrong. I removed the chip collection bag and peered up into the inside of the canister. It wasn’t pretty. The photo doesn’t quite do justice to how jammed this filter was. It looked like wavy plaster in some spots.
The filter was actually so clogged that the path of least resistance for the air coming through the dust collector was actually to overwhelm the 1/2″ thick foam rubber gasket at the base of the canister and whistle out from underneath it.
Cleaning this out wasn’t fun, but it didn’t take nearly as long as I expected it would. Here’s what I did:
- Remove the canister from the dust collector
- Set it on a sheet of MDF on the driveway
- With a shop vac equipped with a crevice tool, run along the top of the cleats to remove the finest plaster-like dust. Definitely want a bag in your shop vac for this, or you’re just going to load up one filter from the other.
- With the top layer of the finest stuff gone, I found that the pleats were holding shocking volumes of larger chips. This is where that MDF comes in. I lifted the canister by the open end and and tapped the rim on the MDF to knock the layers of debris loose from the pleats. The MDF keeps the top of the canister from getting too scratched up. It doesn’t take much force. Then, I vacuumed the bottom to remove the fallen chips.
- With returns on the tapping method diminishing rapidly, I stuck my hand into the canister and wiped along the pleats with my bare hand. This shook lots more loose, and again, I vacuumed up the fallen debris.
- I then got the air compressor and used it at about 60 PSI to blow the dust out of the ends of the pleats where they’re glued to the canister, because it’s had to flap those areas.
That’s more like it.
Total effort, an hour and a half. With all of that, the filter started looking like a filter again. After re-installing the canister and powering up the machine again, it was pretty clear how much suction I had gradually lost and not noticed. Suction at my longest run in particular was nearly doubled (unscientifically checked by sticking my hand in the end of the hose).
So how did this happen? Well the natural purpose of a filter is to load up. It’s what they do. The particular filter I bought is a washable, durable filter that can take a little bit of cleaning. There are cheaper filters out there that if you blast them with compressed air, you’ll easily blow a hole through them – I have a filter like that on my ambient air cleaner, and it’s texture is a little bit like tissue paper.
But more importantly, was the lifetime of the filter and performance between cleanings good? Yeah, I would say so. Since installing this filter, I’ve only cleaned it twice. Now, that first picture suggests that it was well overdue, but as a hobbyist and with my current setup and activity levels, cleaning it out every 5-6 months is probably going to be fine. We’re looking at something more like a year in that photo.
Now, I am going to be spending some time looking in to adding a separation stage to my dust collection network, because at the very least, the clogging was really annoying and if I can stretch out that 5-6 months to 10-12 months and also make emptying out the chips easier for myself, I’ll be even happier.
Comments: 1
[…] but after you install a canister filter on a dust collector, you’re going to find yourself having to clean it, especially with a single stage dust collection system, and cleaning it is definitely no fun. […]
Comments are closed.