Lathe Tool Rack
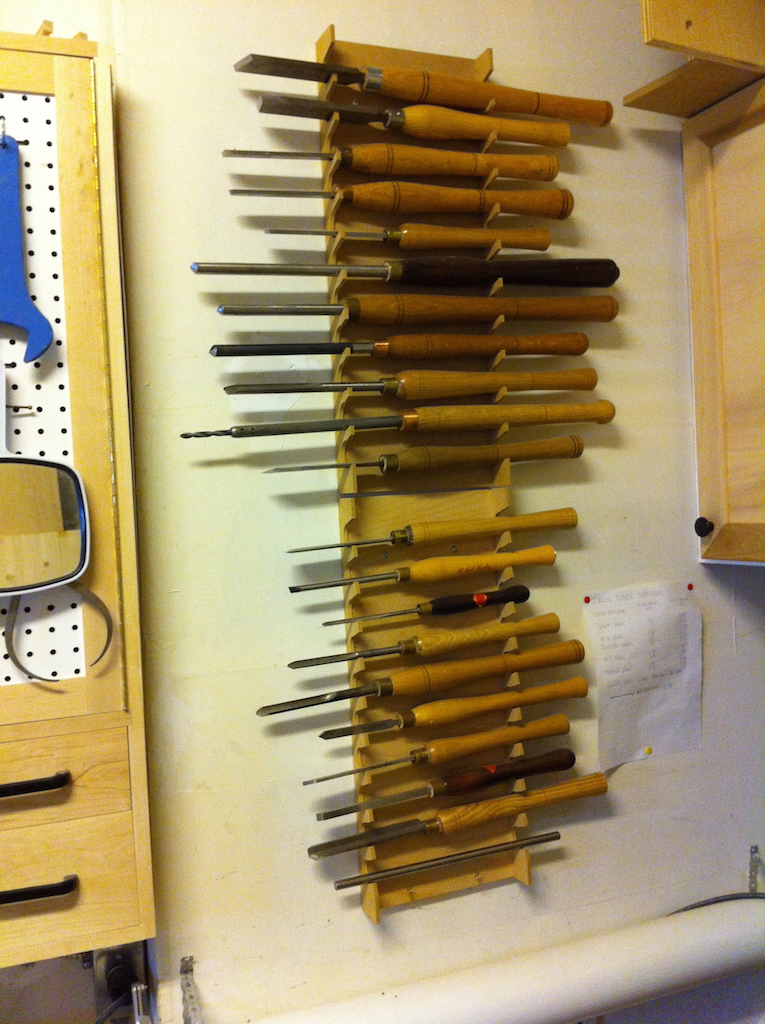
My old lathe tool rack on the wall
This little project is aimed at reclaiming a bit of inefficiently used wall space near my lathe. Â My old lathe tool racks hang on the wall and they are a bit of a space hog, because the tools are arranged horizontally and they vary in length from a bit over 24″ to less than 12″. Â I’ve recently re-arranged the area around my lathe and I was hoping to reclaim some of the space to hang up some new tools that will make more efficient use of the space. Â Also, I’ve always had to stretch pretty far to reach the scrapers on the top of this rack, so keeping things within a more comfortable reach will also be nice.
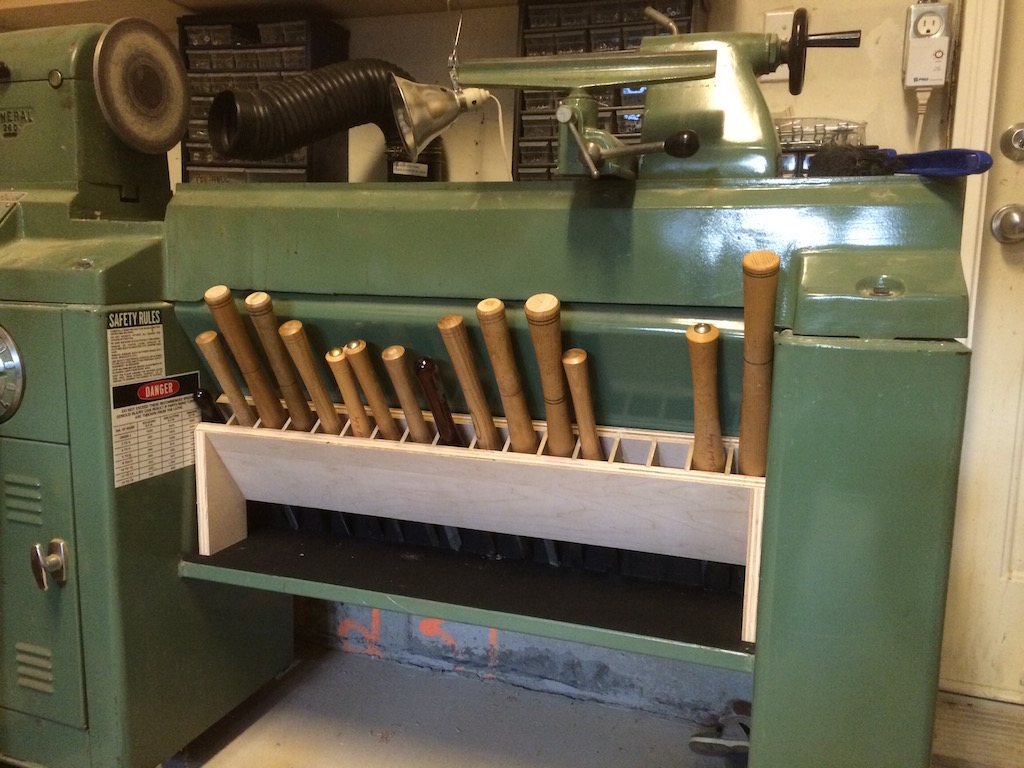
I love my General 260 – it’s built like a tank and absolutely everything about it feels solid. Â Even though it’s designed to be bolted to the floor, I’ve never felt the need. Â But nothing’s perfect. Â I’ve always envied the empty space between the legs on more modern lathes like
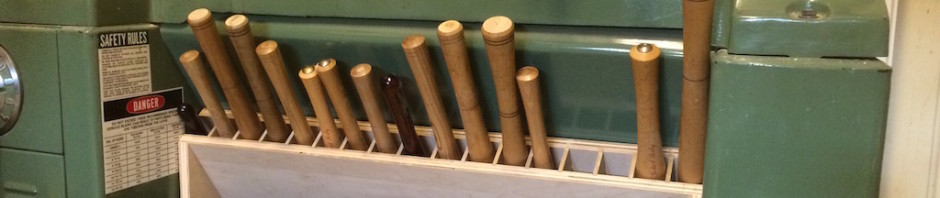
Loaded up and ready to go
the Powermatic 4224B. Â That space pretty much calls out for rolling tool cabinets. Â The General’s heavy gauge sheet metal cabinet stand gets its rigidity from an angled panel that runs underneath the ways and is welded solidly to the headstock and tail-end pedestals. Â This tool rack is designed to make better use of that little space. Â It’s not a rolling tool cabinet, but it does give me a good place to keep my spindle tools. Long gouges stored in this way would interfere with the locking cam lever on the banjo, so this rack works best with tools that are 18″ long or less. Â The scraper on the far right is 22″ and I am only getting away with it being there because I don’t do all that many long spindles.
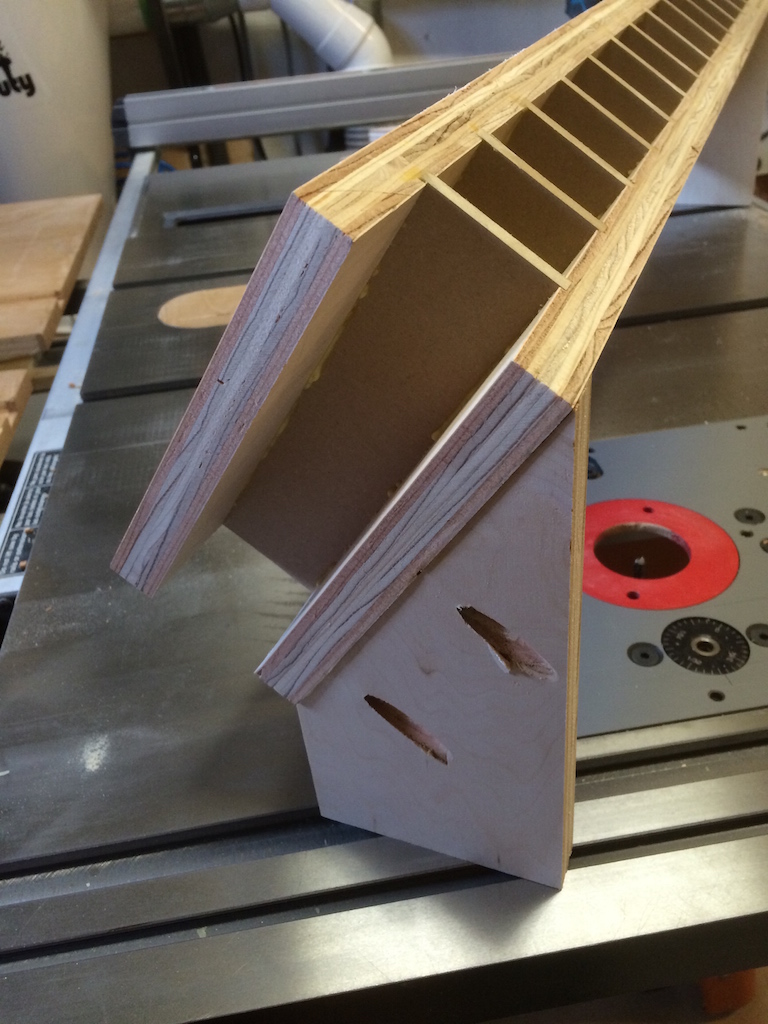
The new lathe tool rack is very simply built
The rack’s construction is as simple as possible, and it was all from my scrap pile.  Two pieces of 3/4″ plywood, 6 1/2″ by 34″ with 1/4″ dados spaced on 2″ centres along the length.  In each dado, there is a 2″ by 6 1/2″ piece of 1/4″ MDF glued to guide the tools straight and prevent their cutting edges from nicking each other.  The bottom of the rack is open, so the tools’ cutting edges are actually resting on the shelf below.  This lets any shavings find their way out to the shelf.  The rack is mounted on legs that have a 54 degree angle cut on them matching the angle of the steel sheet that braces the machine’s base.  If you build one of these, you’ll probably want to measure that angle for yourself.  The legs are pocket screwed and glued to the ends of the rack.  The rack mostly balances itself, but to prevent it from tipping out when loaded with tools, I put a couple of big globs of high-temperature hot glue on the back of the rack and pressed it to the steel back panel.
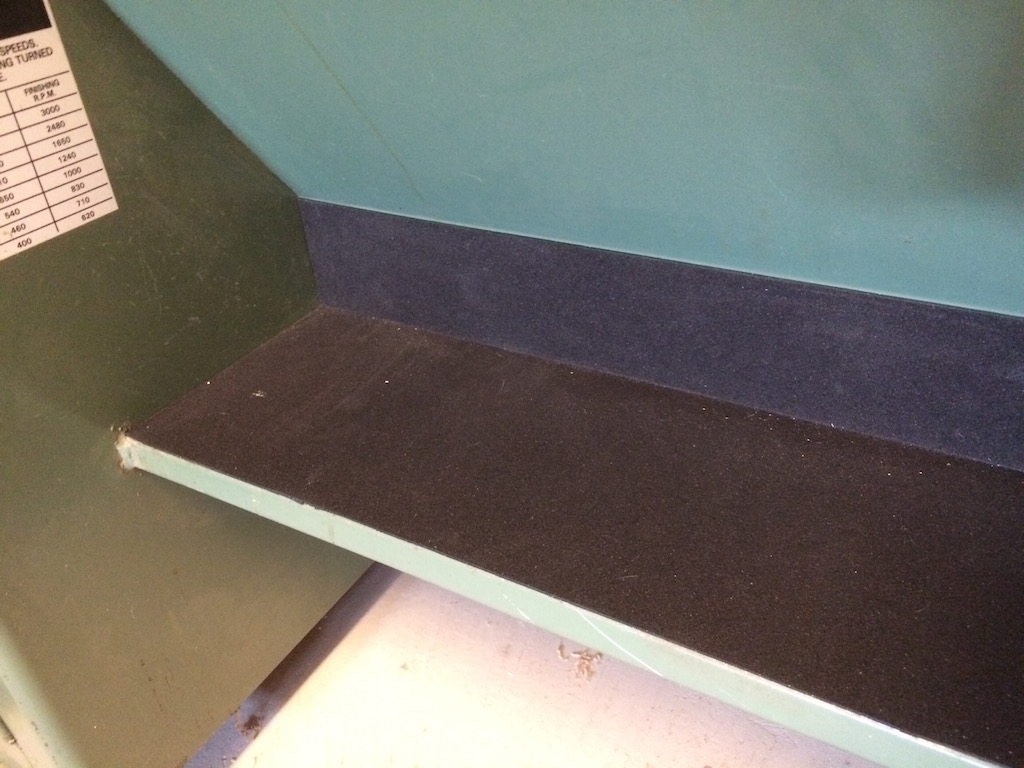
This is rubber mat, attached with carpet tape to protect the cutting edges
To protect the tools’ cutting edges, I lined the shelf with some rubber mat that I found at a local big box store. Â The mat was sold in a small roll, 24″ by 60″ and 2mm thick. Â It’s really solid stuff and it smells like tires. Â It has a non-slip texture and I had quite a bit left over. Â I secured the mat to the shelf using a generous application of carpet tape after carefully dusting and cleaning the shelf with alcohol to remove any oily or dusty residues that might interfere with adhesion. Â This seems quite secure. Â I’m really happy with the mat and even if the tool rack doesn’t work out, I’m quite sure the mat is there to stay. Â I usually store my extra tool rests down on that shelf, so the rubber will reduce the rattling noise and occasional wandering of those items when I’m turning something that isn’t balanced yet.