Little Shop Cabinets
I originally started this project with the intention of building a single small cabinet for my router bits. Having found some inspiration at Wood Magazine, I sat down with Sketchup and worked out a design.
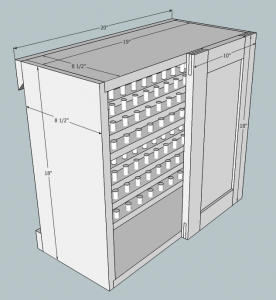
Click this image to get the Sketchup model
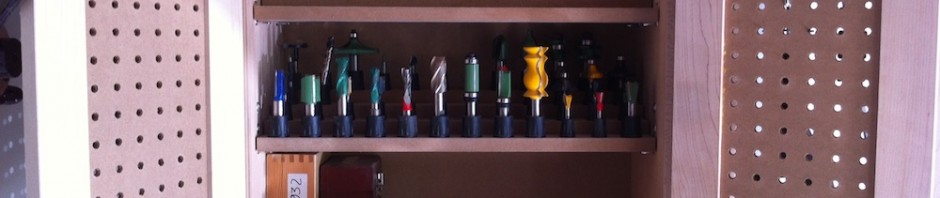
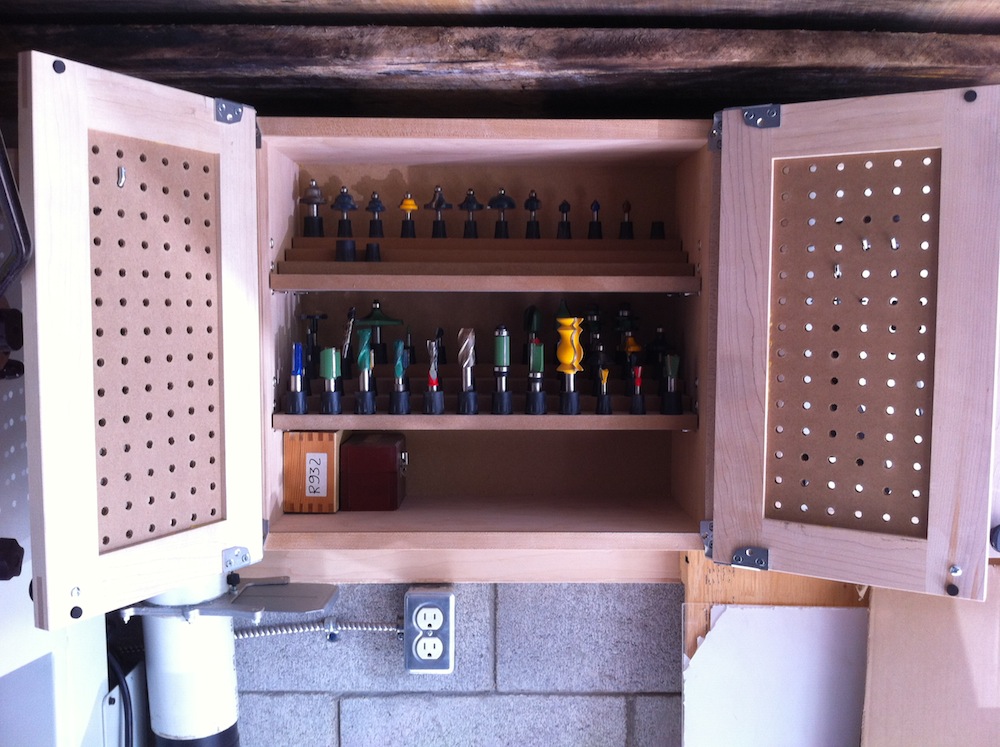
The Wood Magazine plan is free. I decided I wanted two smaller doors, and I didn’t want to go to the trouble of tilting the router bit shelves. I also decided to use Lee Valley’s plastic router bit holders instead of drilling holes into the shelf. Having tried it out, not tilting the shelves means that accessing the bits in the back is a bit of a pain. My solution is just to put my most used bits at the front where they’re easy to get. There are four rows per bit shelf, and each row has 12 bit holders spaced 1 1/2″ apart.
I didn’t take any pictures of the case construction, but there’s nothing really to it. It’s a plywood case with rebates at each end of the side panels for the top and bottom, and drilled for shelf pins at 5, 6 and 7″ from the top and bottom. My original intention was to use metal pilasters to allow adjusting the shelf height at 1/2″ increments, and I do now wish I had followed through on that. The store I bought the hardware at just didn’t have them.
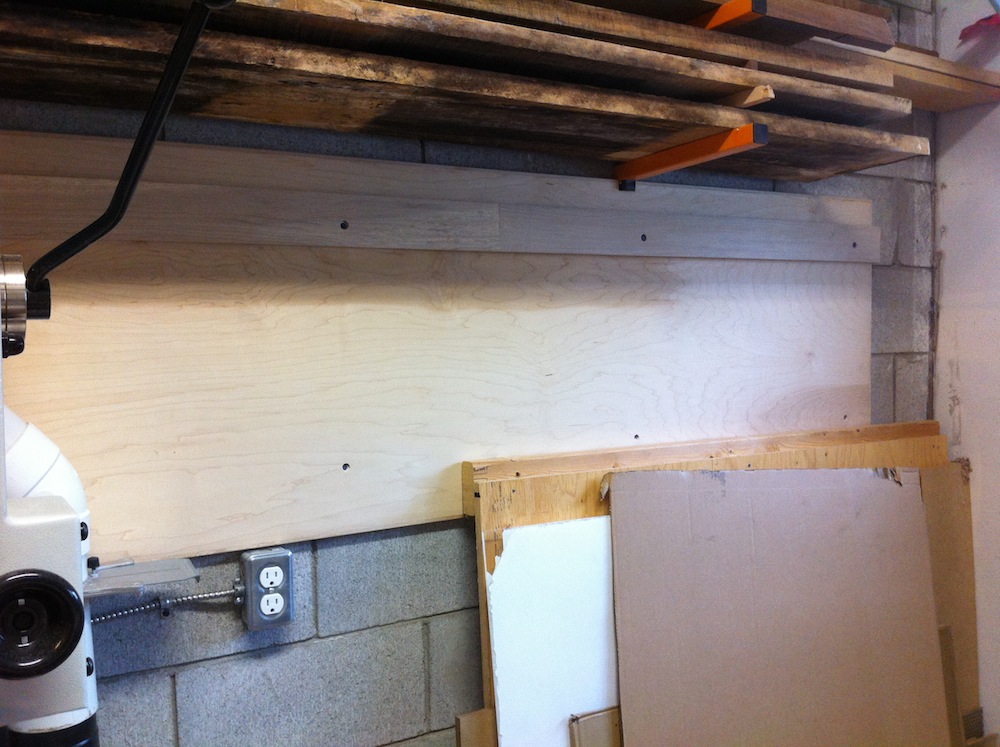
I screwed a plywood sheet to my concrete block wall to make hanging things easier.
These cabinets are hung on the wall using a french cleat at 45 degrees. The french cleat is glued to a 3/4″ plywood sheet, and I screwed through the cleat into the concrete block wall. The french cleat and plywood sheet making hanging things on the wall much easier, and will result in far fewer holes in my concrete blocks. I don’t bevel on my table saw because my out-feed table prevents the motor from swinging over the full 45 degrees necessary, so I used my jointer with the fence set to 45 degrees and taking maximum depth cuts to bevel the cleat, leaving a 1/16″ flat on the tip just to avoid having a fragile edge. I ripped the edge opposite the bevel to ensure that it is parallel.
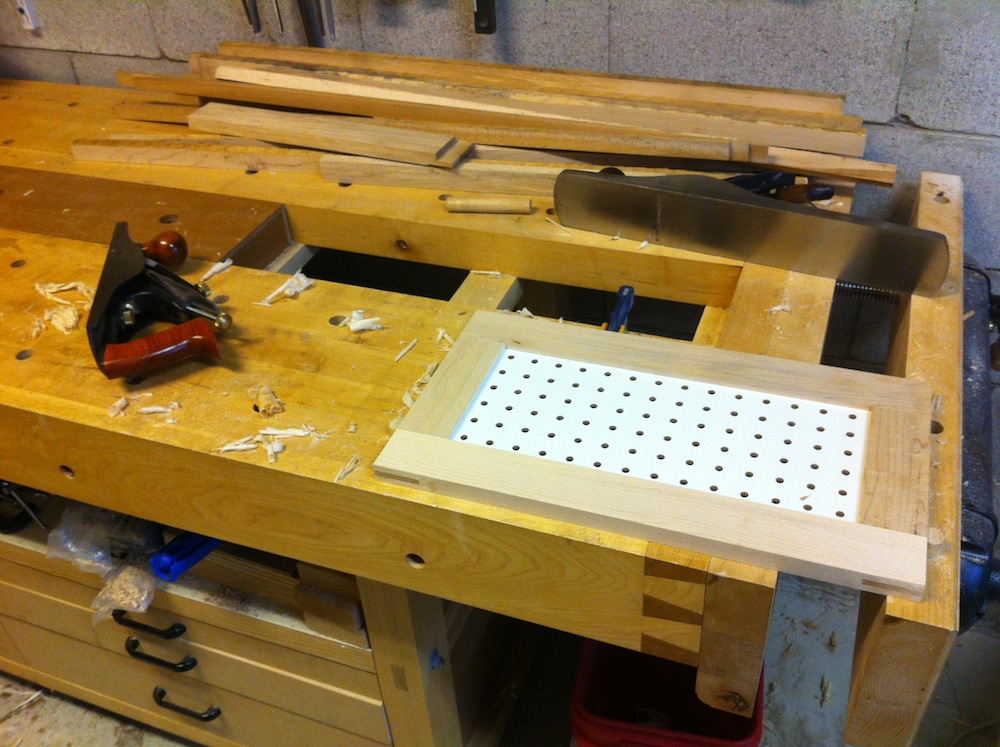
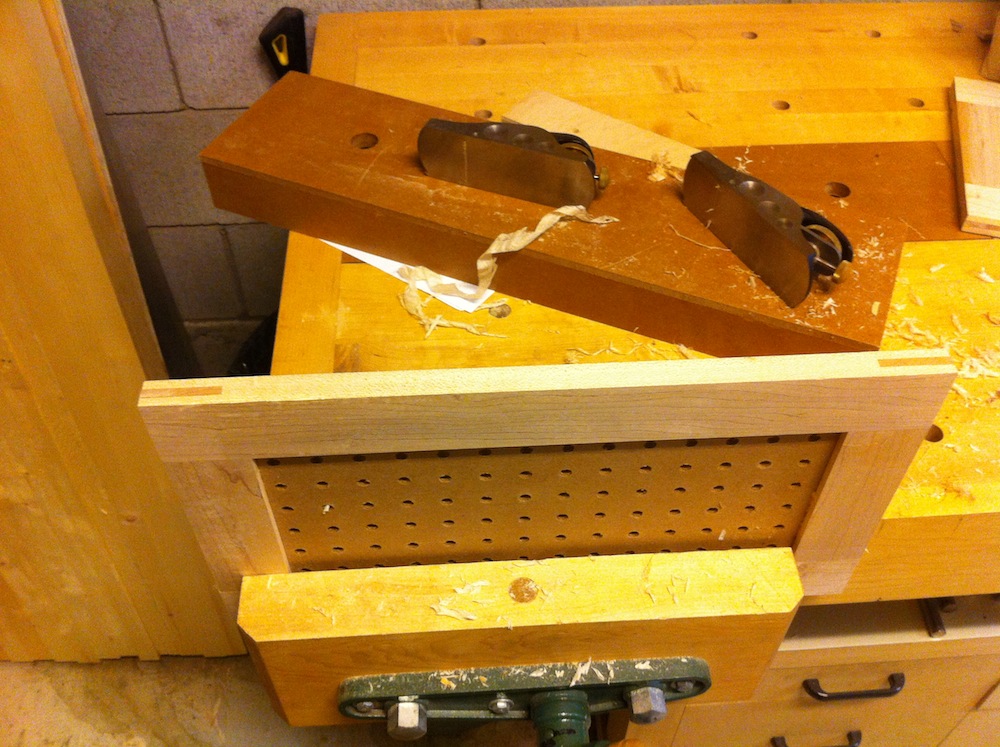
Flattening the door face with hand planes
Like my other hanging tool cabinet, the doors are maple frames with white pegboard panels. These doors are only single-sided though – that one used two layers of peg board spaced 1/4″ apart so tools could be hung on both sides of the door. I really like white pegboard panels for hanging light stuff like wrenches for my routers and router lift that get used frequently. The white brightens things up considerably, and it keeps my most frequently used items accessible. The doors use bridle joints because they’re quickly cut with a tenoning jig. The pegboard is glued into a groove along the inside edge of the rails and stiles that lines up precisely with the bridle joint – I actually cut the groove first and used that to size the bridle joints.
Cleaning up the edges of the doors
The edges of the doors were cleaned up with a low angle block plane, and I used a standard angle block plane to put a light chamfer along every corner. Almost no sandpaper was harmed in the making of this cabinet.
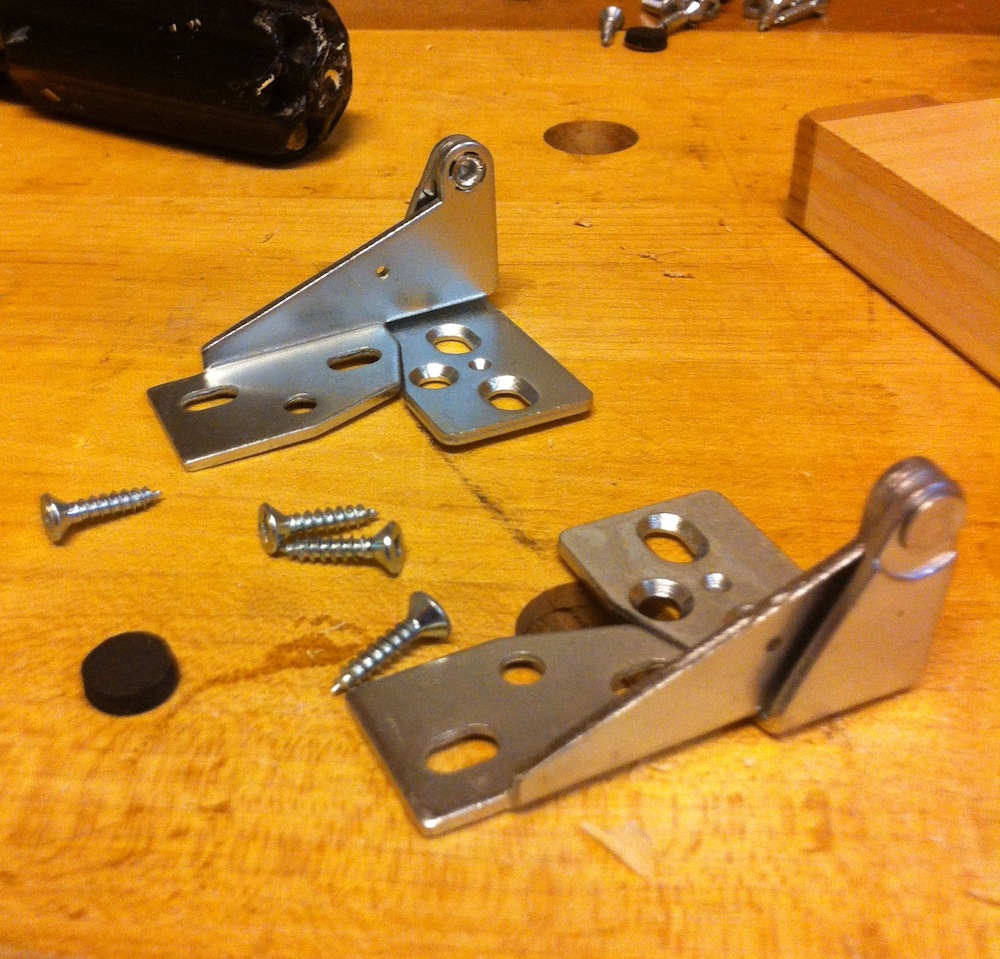
These are cheap and easy to install
The hinges I used are cheap “invisible” hinges. They are very easy to install and cost me about $5/pair. They are installed by lining the edge of the door up with the edge of the hinge and screwing them in place. With the cabinet on its back, line the doors up where you want them to be, and then give the door a light tap over each hinge. The little dimple on the case-leaf of the hinge will mark the case front. The door can now be opened and the hinge lined up on the leaf to make pilot holes and install the screws. Once the case leafs are screwed in, the door reveal can be fine tuned by loosening the screws on the door leaf. Because the pivot point is in front of the door’s outside corner, these hinges allow the cabinets to be placed directly adjacent to each other, and open up almost 180 degrees (limited more by the door knobs than anything else). If there’s no adjacent cabinet, these doors can open up to 270 degrees, so they’re a great choice for shop cabinets. For heavier doors where I expect to hang more tools, I would use piano hinges, but these doors are only going to see a wrench or two and maybe some hex keys hanging on their fronts.
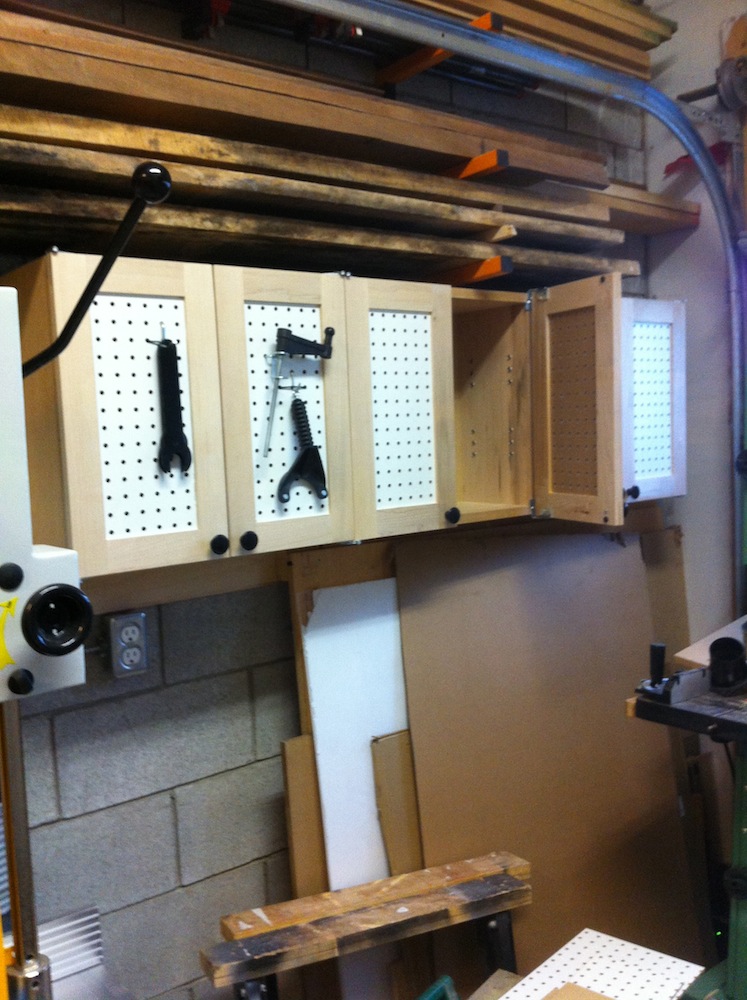
Installed under my lumber rack and beside the band saw
These cabinets were sized for a particular space. Underneath, I keep my bits and pieces of plywood for jigs and templates. Above is my lumber rack, and to the left is my band saw. The doors don’t interfere with the out-feed area for the band saw, and the depth of the cabinets was chosen to avoid hitting them as I remove lumber from the racks above. I originally intended to build only 1 cabinet, but since I had space and most of the materials for 3, I built 3. Two of the cabinets have flat shelves and I’ll probably use them for storing my sanders, sanding discs and hand held routers.
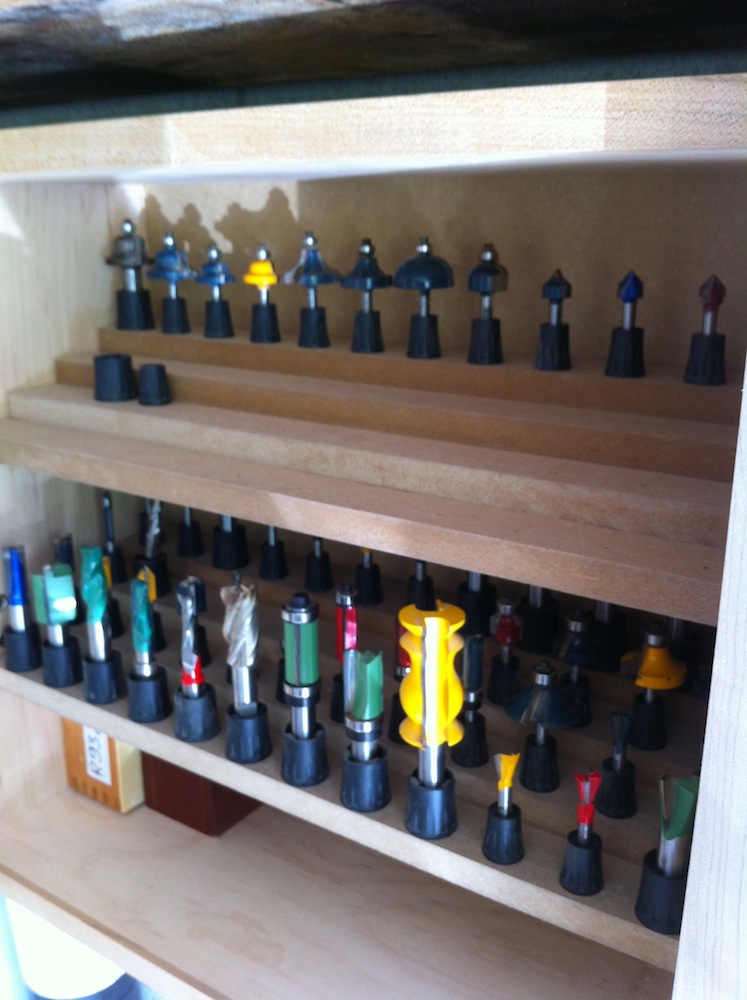
Each shelf holds 48 bits
The shelves for the router bits were made from some leftover 5/8″ MDF that has been sitting around for quite some time. I ripped 2″ wide strips and marked them 1/2″ from the front and back edges with a marking gauge. Along the front line, I marked for pilot holes starting 3/4″ from the end at 1 1/2″ centres. The rear line was used to line up the next level. I placed a strip along the rear line to create the steps and secured it with 1″ brads and glue. Each shelf has 4 levels. With the steps created, I flipped the shelf over and used little blocks of MDF to build up the under side of the shelf so that it can sit flat. Using little blocks at the end instead of using a wider strip of MDF for each step dramatically reduces the weight of each shelf, and leaves space to lift out bits from the shelf below. I figure that since I’m using up scraps here and nobody is going to be looking at it, I’ll fix it if it breaks. Seems solid enough though.
Plenty of room to grow
I drilled 5/32″ pilot holes for #4 screws that fit the router bit holders from Lee Valley. Those router bit holders come in two sizes, so while I did drill the pilot holes for all 48 bits per shelf, I did not install router bit holders in every hole. I will buy a packet of each type of holder and install them as I get the bits rather than try to guess at which size of holder should go in each hole.
Comments: 1
[…] ← Little Shop Cabinets […]
Comments are closed.