Pallet Coasters
I saw this idea on Woodworking for Mere Mortals, so thanks Steve, these are great. He posted a video on how he made his versions from real pallets. Mine are made from maple off-cuts from making the doors on my recent little shop cabinets.

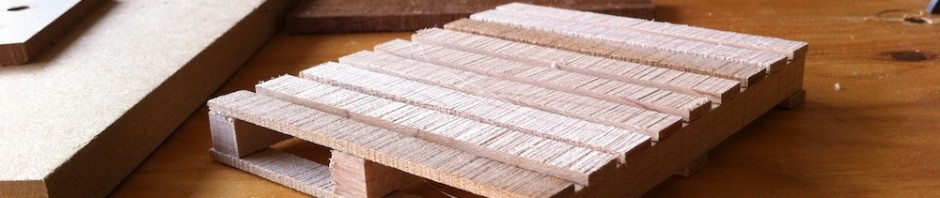
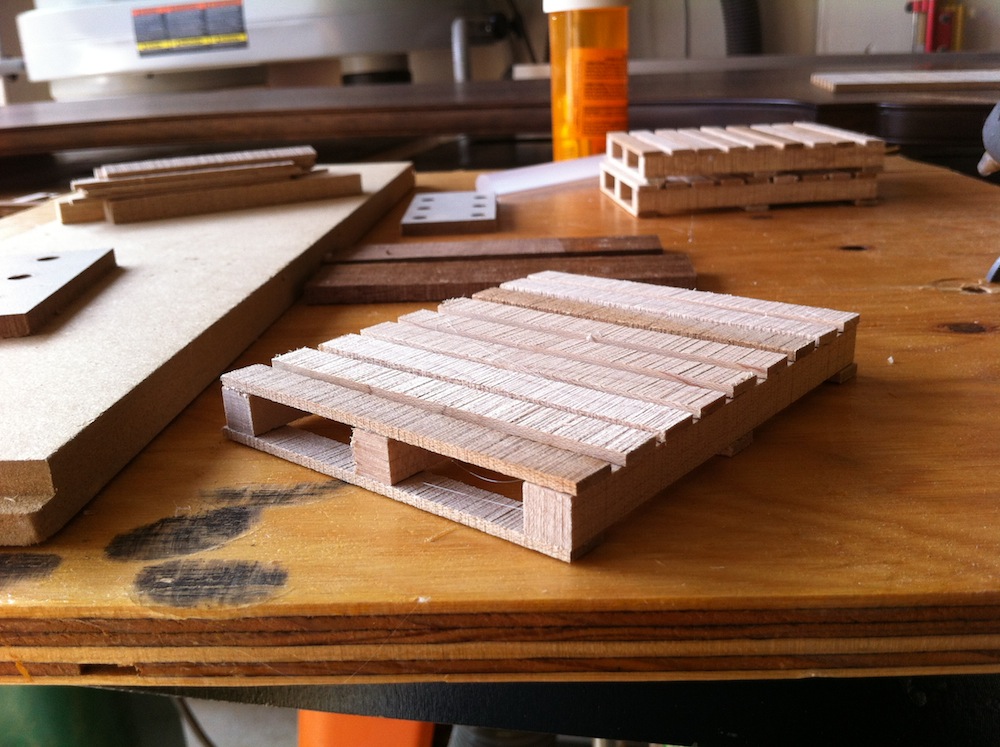
A stack of little pallets
My approach to this was to get a little crazy with scale. I looked up “Pallet” on Wikipedia and low and behold, they had an extensive article discussing the standards, space efficiency and various design approaches of different types of pallets. When I saw this, I really wondered who would want to spend their time writing about pallets. In retrospect, here I am writing about making more or less scale models of them…
Armed with the dimensions of the most common pallets from Wikipedia, I used a spreadsheet to figure out the dimensions of the scaled down parts in thousandths of an inch (to make measuring parts with my digital calipers easy) and I began ripping my maple off-cuts to size on my band saw. I fed the wood quickly to encourage a slightly rough cut. There are only two distinct parts in each pallet, so here are the dimensions:
- Over all dimensions: 4 1/4″ by about 3 17/32″ and 19/32″ high
- Deck boards: 3/32″ thick by 3/8″ wide and 3 17/32″ long
- Stringers: 3/8″ square, 4 1/4″ long
I went with two-way pallets instead of four-way pallets to avoid the need for the router operation that Steve did on such small parts. You can read more about the differences between two-way and four-way pallets on Wikipedia. It’s very exciting, I assure you!
For this article, I’ll mostly let the pictures do the talking.
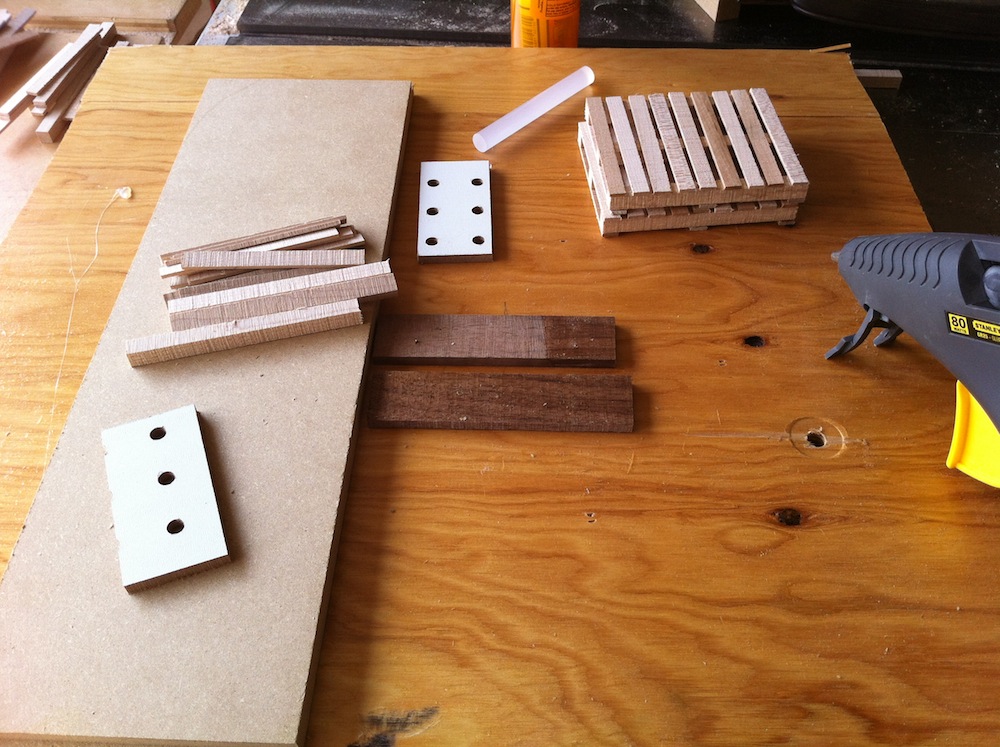
The jig
For assembly, I made a spacing jig to get things moving nicely. I evenly spaced 3 deck boards along the stringers and cut some spacers out of some walnut off-cuts, then nailed them to a scrap of plywood. Then, using a square, I nailed a scrap of MDF to align the ends of the stringers. The stringers are placed around the spacers, with the bottom side of the pallet facing up (the nicer parts of the wood are better off concealed in this instance).
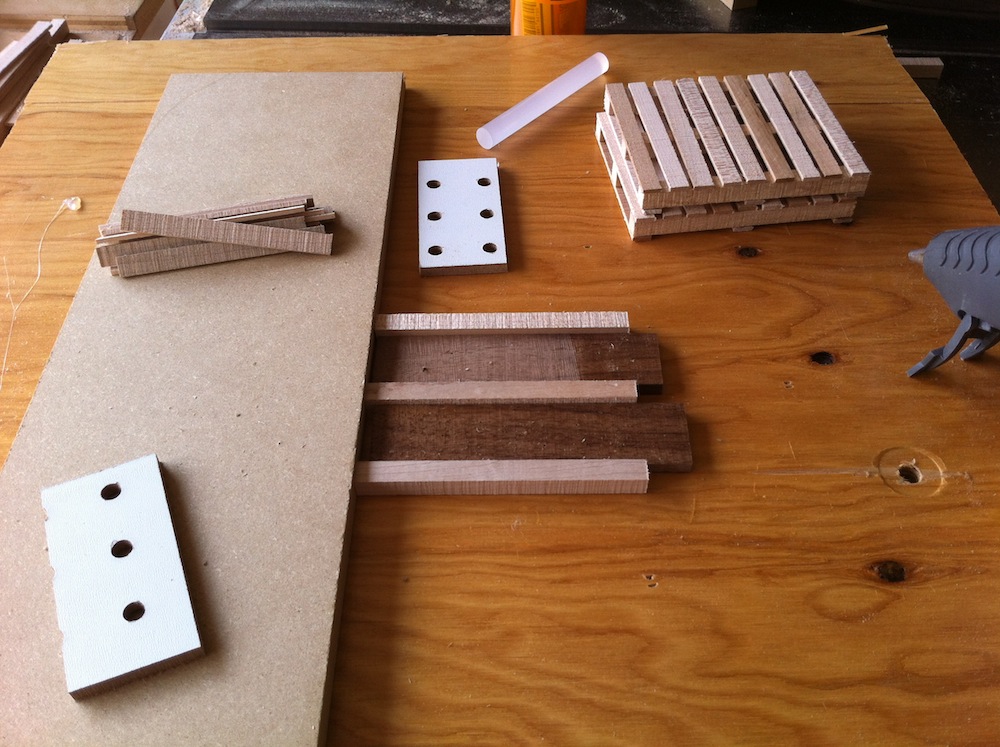
Stringers placed and ready for glue
The first deck board is glued right up against the MDF fence with hot glue. After that, I used the pegboard spacers to space the centre deck board and then the left most deck board evenly. The deck boards were sawn from particularly streaky and variably-coloured bits of wood. Skewing one or two deck boards a degree to one side when placing them and making the overhang on the ends vary slightly adds authenticity, but subtlety is critical.

A spacer yields accurate spacing for the critical deck boards
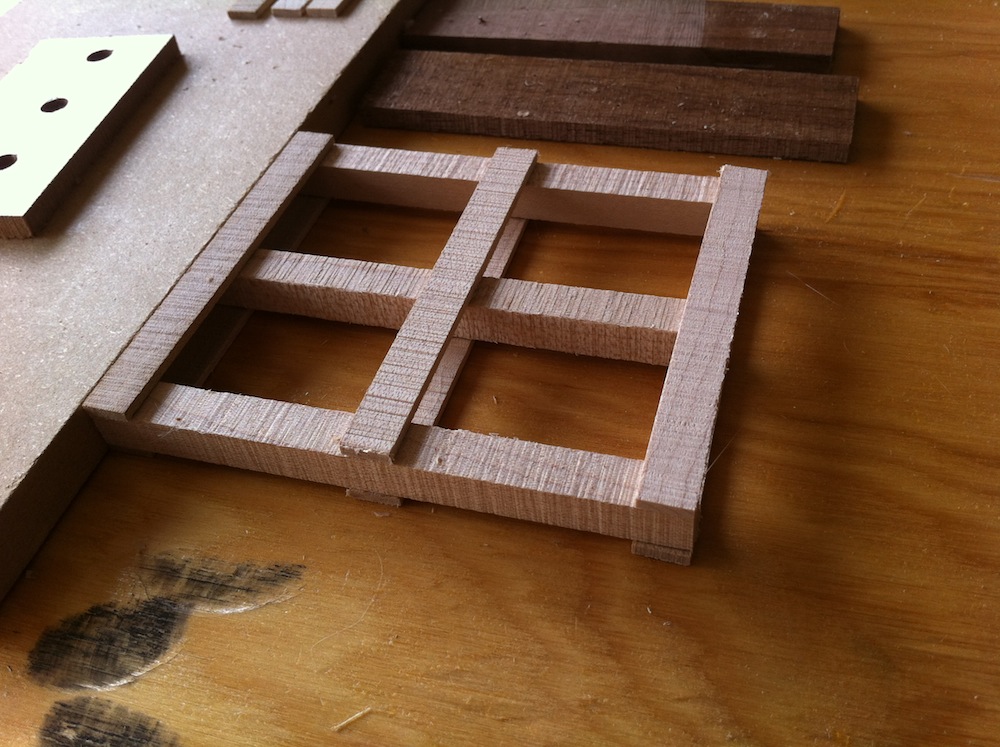
The end and centre deck boards are placed first
The remaining deck boards are filled in by eye – slightly skewing one here and there adds authenticity
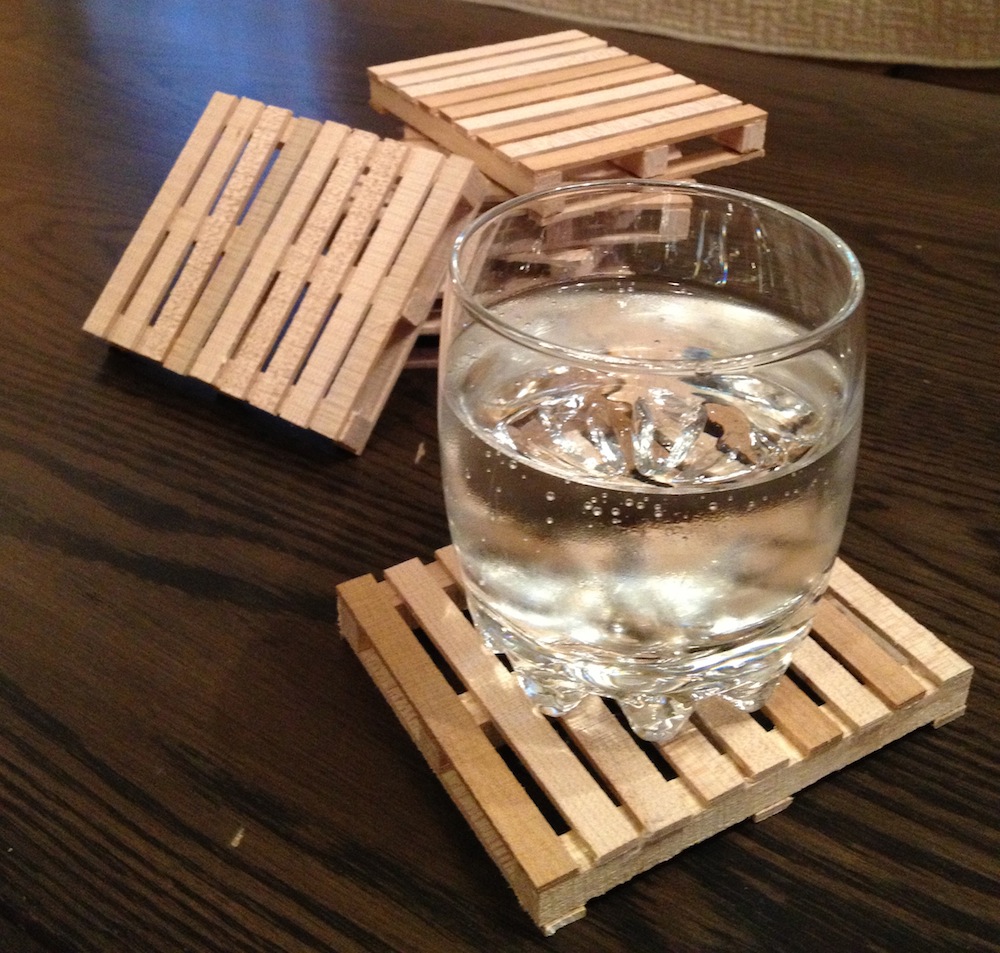
In service