Surfacing and Thickness Planing with a Router
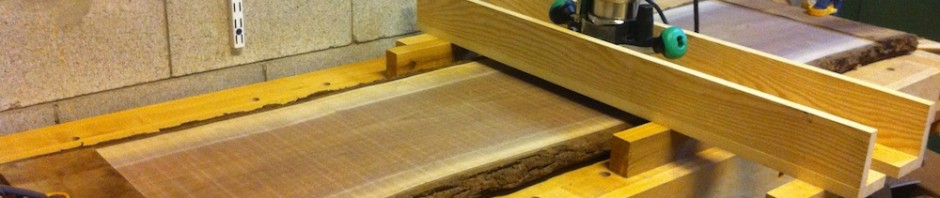
Fine Woodworking recently ran an article about surfacing live edge slabs with a router. I have to admit, that got me thinking about doing a live edge table. So I got out the router sled that I built to surface my workbench and I decided to snap some pictures of the process.

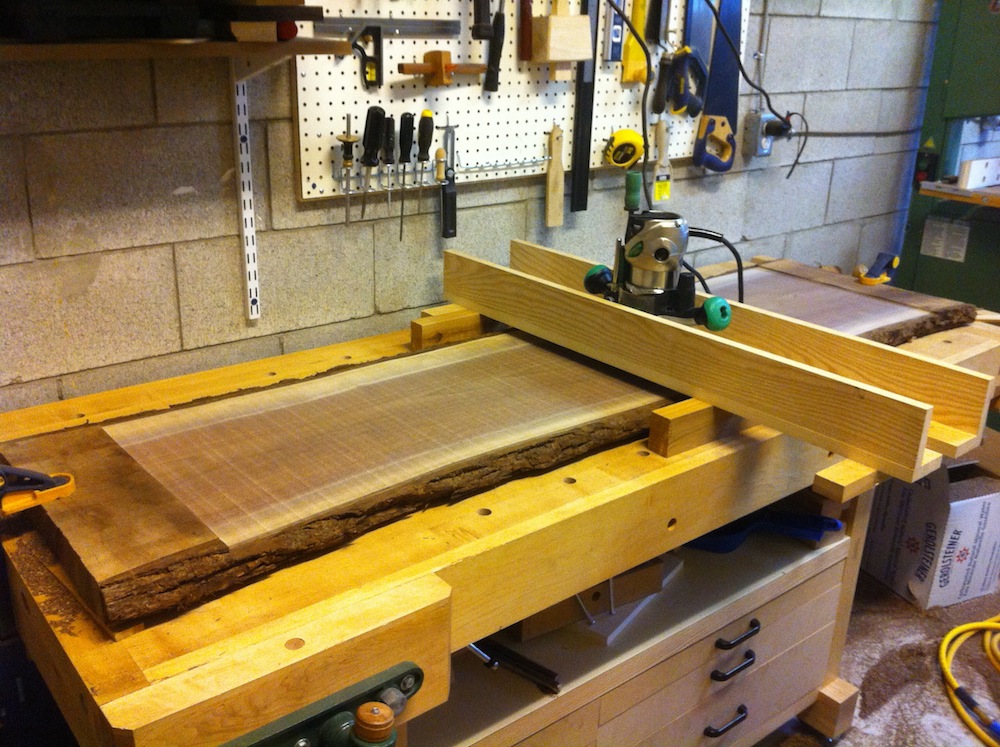
I drove an hour and a quarter each way for this walnut. Surfacing and thicknessing this way is a lot of work and it’s REALLY messy. Less work than doing it with a hand plane of course, but enough work that I’m only going to use this approach when it’s going to make a real impact to whatever I’m building. Fortunately, this came out well enough to justify the effort.
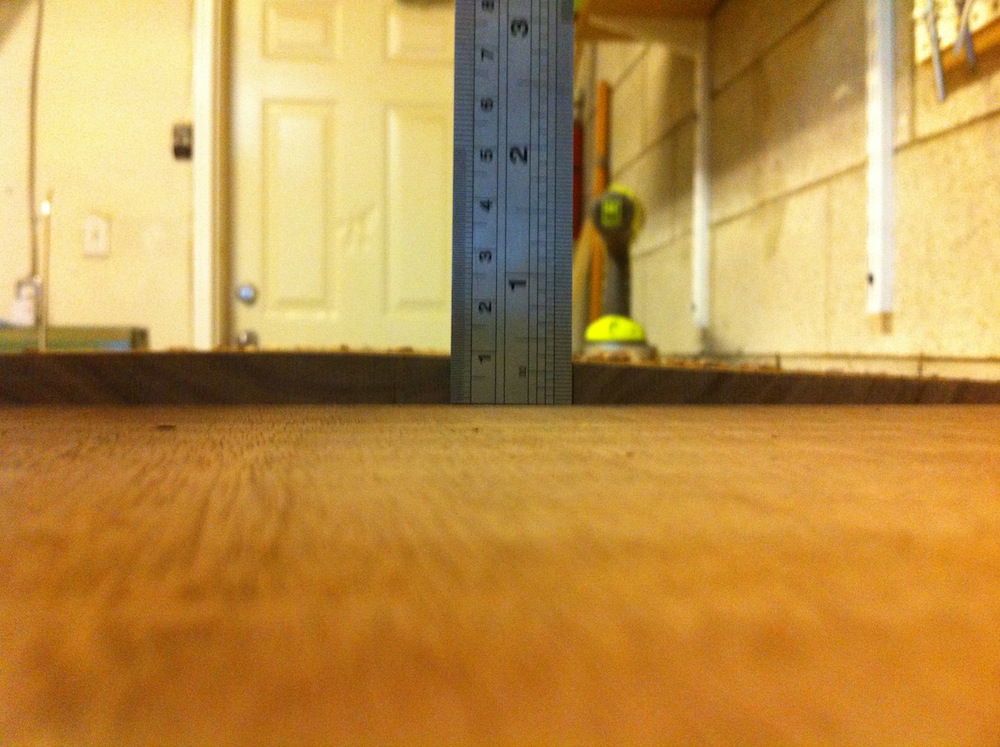
I clamped the board down with the convex side on the bench and put some cedar construction shims at the corners to keep it from rocking. Once the first side was done, I flipped it over and placed 3/4″x3/4″ stickers that I usually use for stacking lumber under the finished surface to elevate the unfinished ends off the bench and hold the finished surface parallel to the bench top.
I screwed a pair of dressed 2×4 pieces to the bottom of the sled, one at each end, after ripping them to a consistent width to establish the height of the sled above the bench. I had to take them off and rip them a bit shorter after flipping it over so the bit would reach.
Comments: 3
[…] Making Splinters Things I've made and what making them taught me Skip to content HomeAboutWebsite Terms of Service ← Surfacing and Thickness Planing with a Router […]
[…] huge, and it will chew up the ends of your board a bit, but I’ve found it quite useful for surfacing rough lumber with a router. I wish had thought of this a bit […]
[…] and table tops. So those extra 4″ are going to make it drastically less likely to resort to surfacing and thickness planing with my router, which is very messy and very […]
Comments are closed.