My Workbench
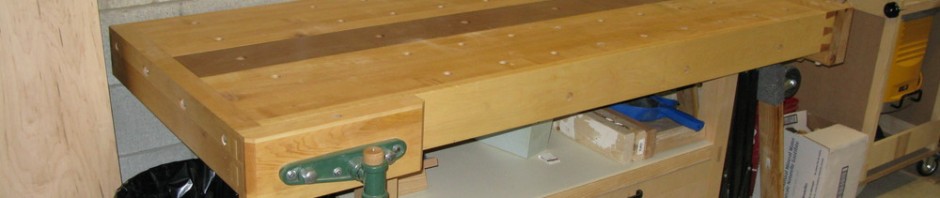
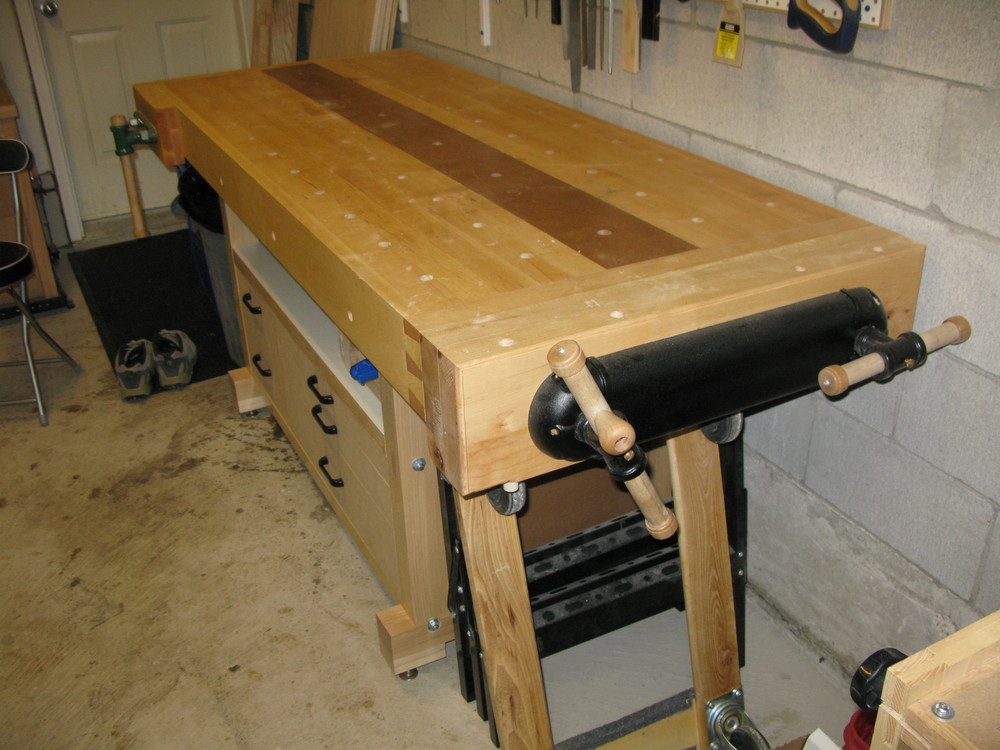
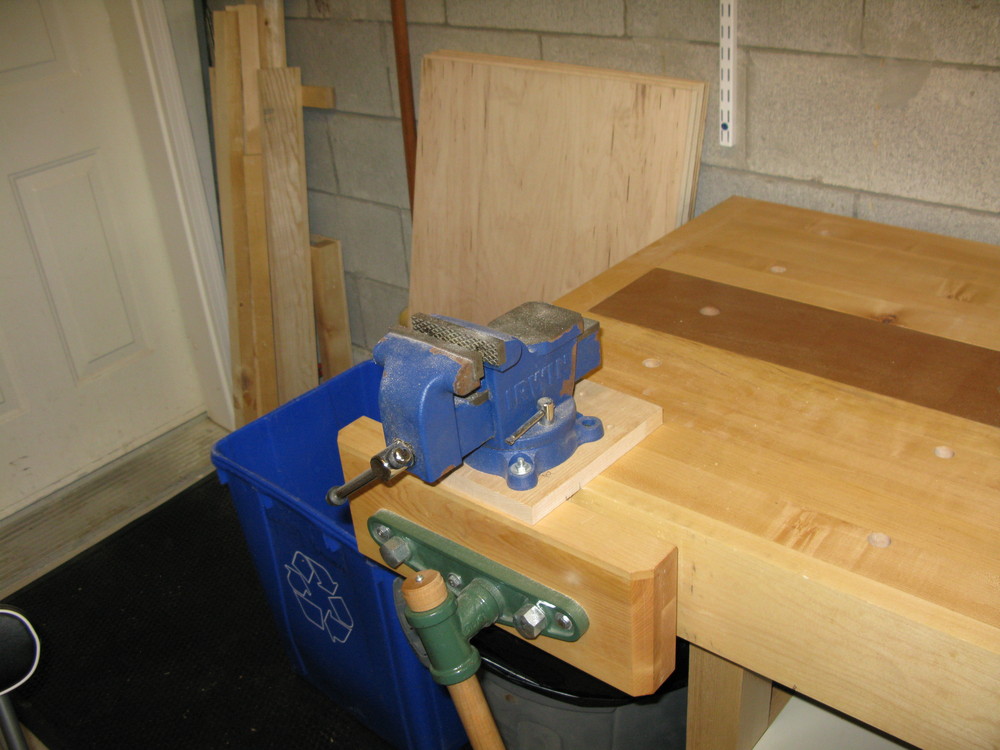
Well I didn’t take any good progress pictures on this one, but it has quickly become my favourite tool. This design is somewhat based in the workbenches that Lee Valley sells. It has a Veritas twin screw vise on the tail end, and a large quick release vise on the front. I drilled holes in the front skirt for pegs that line up with the guide bars on the front vise for holding long boards for edge jointing.
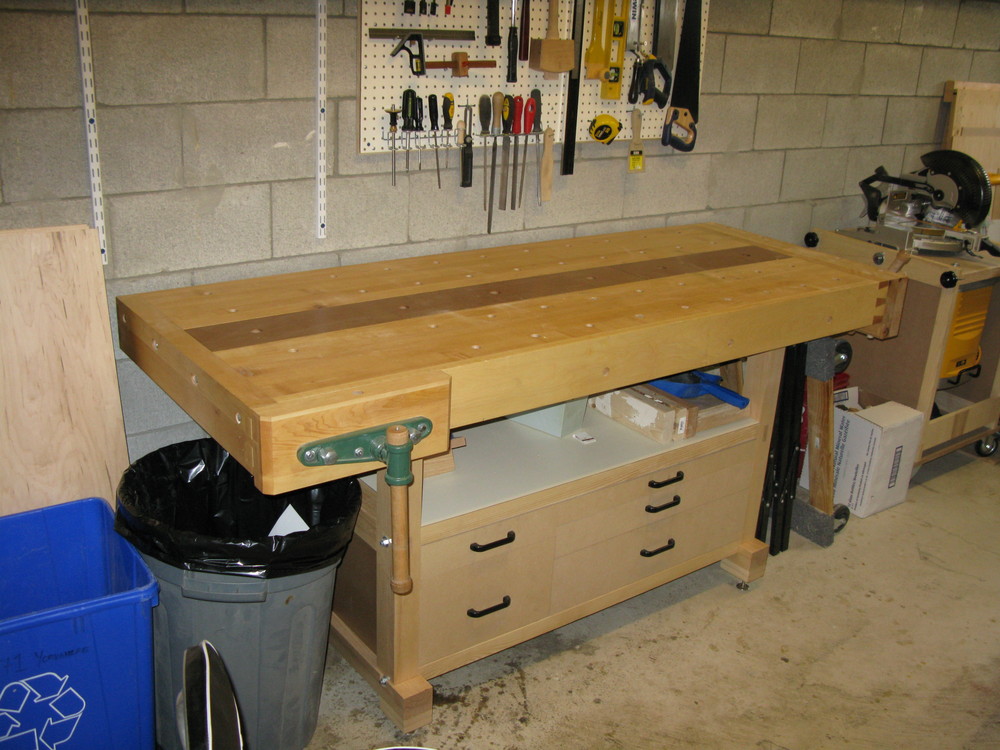
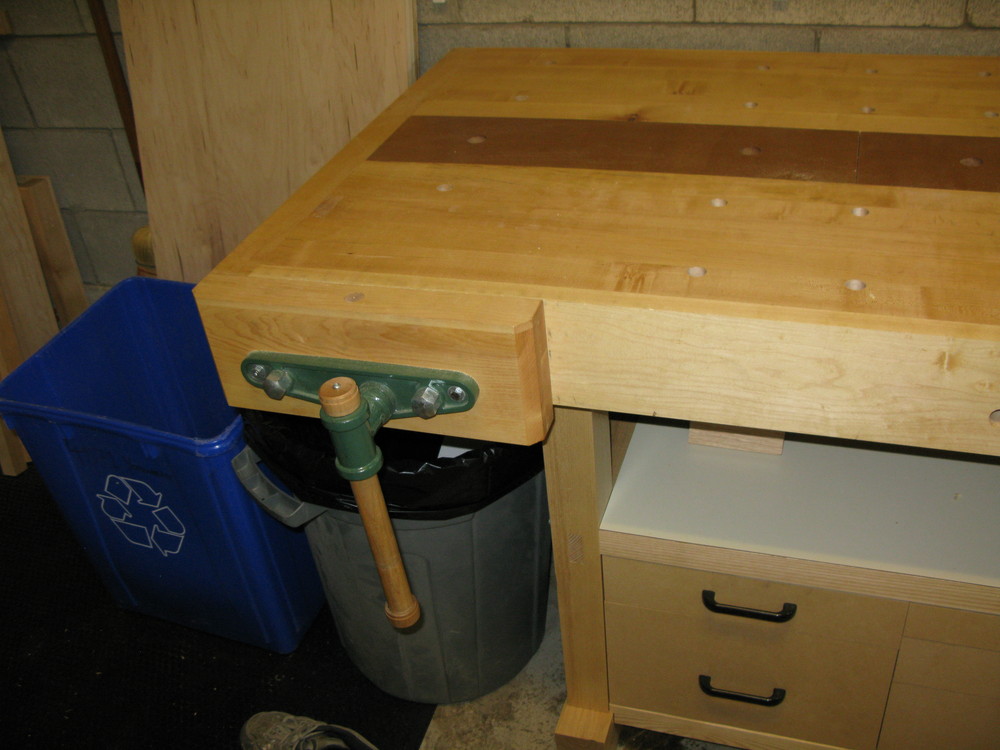
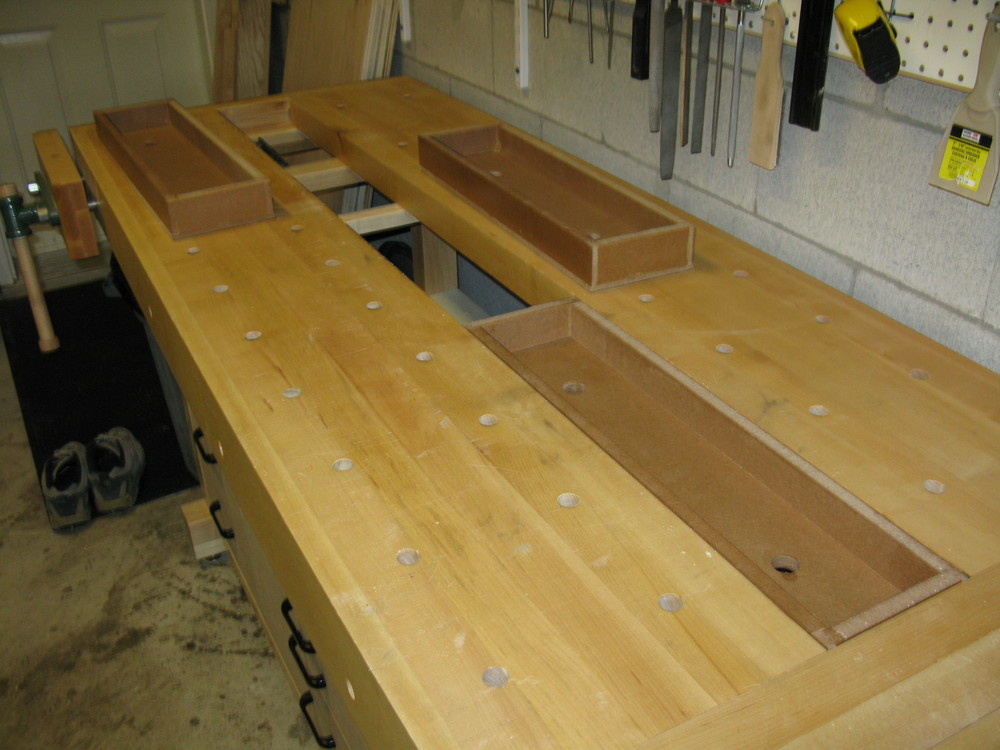
The top is 2 separate slabs, joined together by the end skirts. Each slab is 3″ thick and has 2 rows of 3/4″ dog holes on 6″ centres. The top is just over 6′ long and 30″ deep. I flattened it after assembly using a router sled. The cabinet underneath as 5 drawers, the ones on the right being wide enough to store my #7 jointer and the rest more or less designed around that.
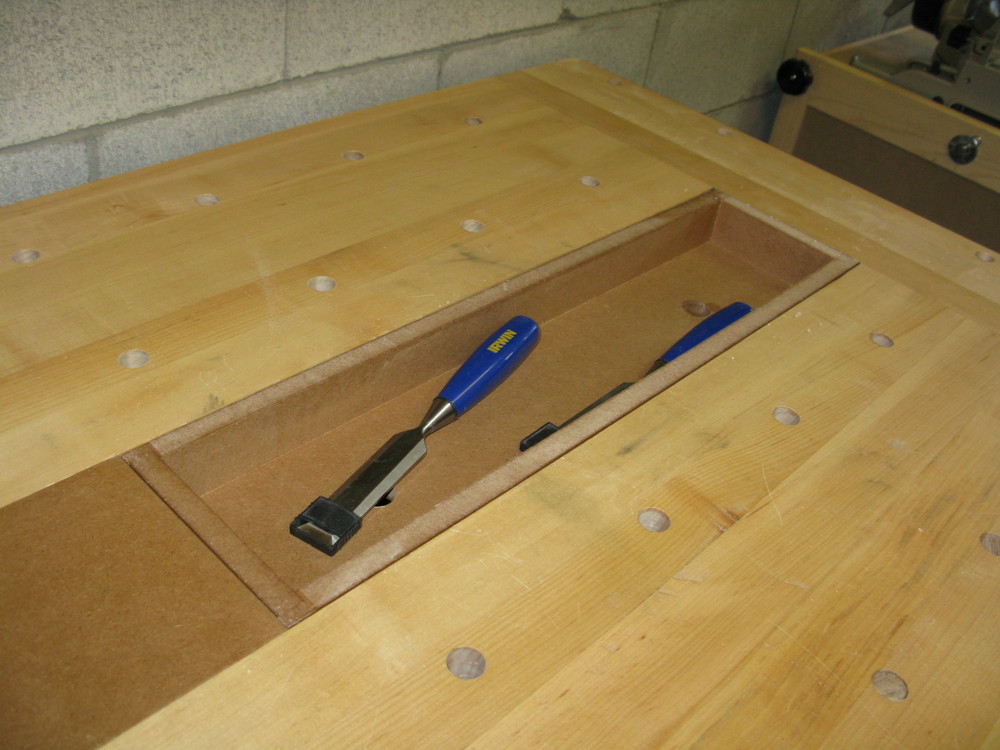
I put a bit of Formica on top of the cabinet for durability, attached with solvent-based contact cement. Applying it was definitely a learning opportunity. It’s not straight – fortunately, the error is on a back corner. Second, I actually spilled the can of contact cement on my driveway. It looks vastly uglier than an oil spot, in case you were wondering. I’m really happy with the result, otherwise – MDF is a great substrate for Formica, and it made the top really easy to vacuum off and it has held up tremendously well to the abuse it has taken.
I took the vises from my old bench, which was only 24″ deep. This meant increasing the screw spacing on the Veritas twin screw vise by 6″. Since it’s notoriously difficult to add material once you’ve cut it off, the cast aluminum chain guard from my old bench wasn’t going to be suitable. Faced with the “build or buy” problem, I decided to try building one. I picked up some 20 gauge steel at the Metal Supermarket and rolled it over some 1″ dowel to form the approximate curves of the cover. Then, I got some Tremclad primer and some Rustoleum black textured paint, both in spray cans. I figured it would be a “close enough” thing, and that if it really looked terrible, I could sand it flat and cover it up. I have to say this: if somebody told me tomorrow that Veritas uses Rustoleum paints, I’d totally believe them. That black textured paint looks shockingly close to the original. I’m very pleased with how it came out. I bought a length of #35 roller chain at Princess Auto and used it to replace the original chain.
I drilled my dog holes with a 3/4″ 4-flute end mill in my router. It mostly worked well – I drilled a 1/2″ hole free hand and used the end mill to finish it. The result was quite square to the top. Unfortunately, the depth of cut I could get with my router wasn’t quite the full 3″ required to get through to the other side. Consequently, I had to finish the holes with a 3/4″ brad point bit. This didn’t work very well at all. I now have 4 rows of dog holes, and most have a tiny step that’s too small to remove with a twist drill and is inaccessible enough that I can’t get a trim router in from the bottom with a bearing guide. I’ve thought about buying a machinist’s hand reamer to fix it but I’m not sure enough that it’ll work to actually lay down the cash. The other idea I’m considering is to get a 7/8″ twist drill and just enlarge the hole from the bottom. The step is only about 1/2″ from the bottom of the hole, so it would be no great loss. The router made very nice square holes with a nice surface and I do recommend that method – just double check your plunge depth first….
I built the cabinet as an MDF case and I used 4 threaded rods, 3/8″-16tpi, to join the legs together with the case in between. They’re just over 4′ long each. The rods are tight enough that you can play a musical note on them, but not quite so tight that they deform the case. They were installed very close to the top and bottom panels. My thinking there was that they would keep the leg set from racking. So far it’s working.
This bench was easily my most challenging project yet, if only because of the weight and scale of the parts. Preparing the boards for the top was a lot of very sweaty work and really pushed my little 6″ jointer to the limit. I was working with random thicknesses around 12/4 and the rough pieces were just over 8′ long. I had to jury rig an extension to my jointer’s outfeed table to keep the boards straight, and jointing and planing the pieces took me about 12 hours. I filled two black garbage bags with chips. I wouldn’t trade the experience for anything – every time I use this bench, I’m reminded of how vastly superior it is to the one it replaced.
Comments: 4
[…] me thinking about doing a live edge table. So I got out the router sled that I built to surface my workbench and I decided to snap some pictures of the […]
[…] My workbench has 3/4″ round dog holes for surface clamping with my Veritas Twin Screw end vise. Most of the time, I use short lengths of store-bought hard wood dowel as dogs. This approach has been a little frustrating because with no spring to hold the dowels at a particular height before clamping pressure is applied, they’re either too tight or too loose and then often fall through the holes. […]
[…] first is made from some leftover white ash that I used in the making of my workbench. I splurged on some 12/4 white ash for the legs, and the off-cut became this bowl. The diameter […]
[…] to protect my ability to move around. Everything in my shop is on wheels of some sort except my work bench. I’ve got a nice 5′x8′ area in the centre of my shop that I keep open so I can […]
Comments are closed.