Flip Top Tool Cart
My shop’s small. Real small. It’s so small that once, I actually moved a power outlet to reclaim a square foot of wall space to hang something on. So when it comes to making use of space, I’m really careful to protect my ability to move around. Everything in my shop is on wheels of some sort except my work bench. I’ve got a nice 5’x8′ area in the centre of my shop that I keep open so I can move things around.
One of the ways I maintain this is my Flip Top Tool Cart. Now, there are plans for these things all over the place. Lots of people have them, and mine is pretty ordinary for the most part. It’s a frame and panel box with an ash frame and MDF for the panel. The MDF is glued all round to the ash for strength. The pivot is a stainless steel rod, 5/8″ in diameter. It’s drilled at each end for cotter pins. The rotating table is 2 layers of MDF that I routed a channel through for the rod. At each corner of the table, there’s a 1/4-20 eye bolt set in a slot with a 1/4″ bolt through the eye to act as a pivot so that the bolt can get out of the way for rotation. To lock the table in place, I line the eye bolt up with a slot in the case side, pivot it into the slot and tighten the star knob. Flipping it takes about 30 seconds. My mitre saw and planer are bolted in place with 1/4″ bolts and nylon lock nuts (important because of the vibration of the machines).
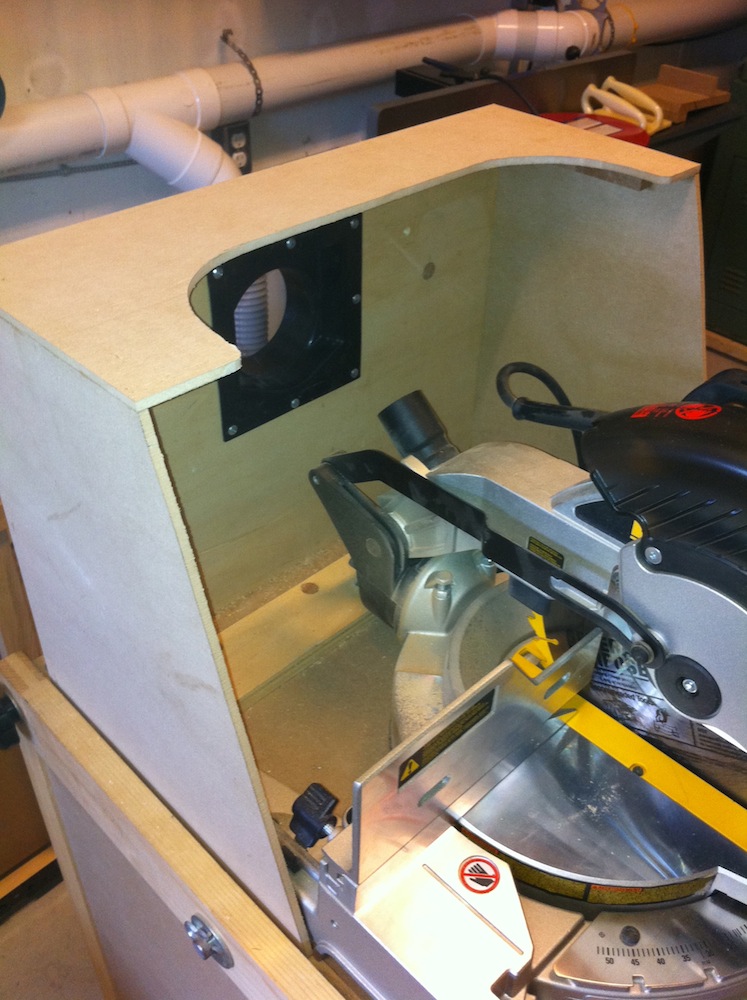
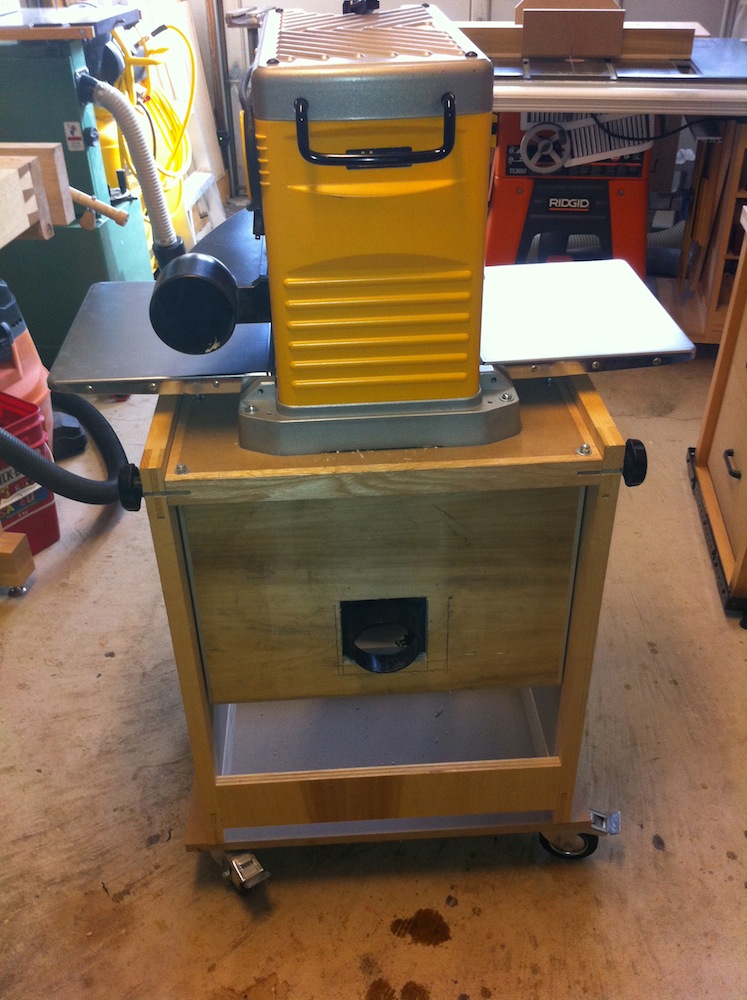
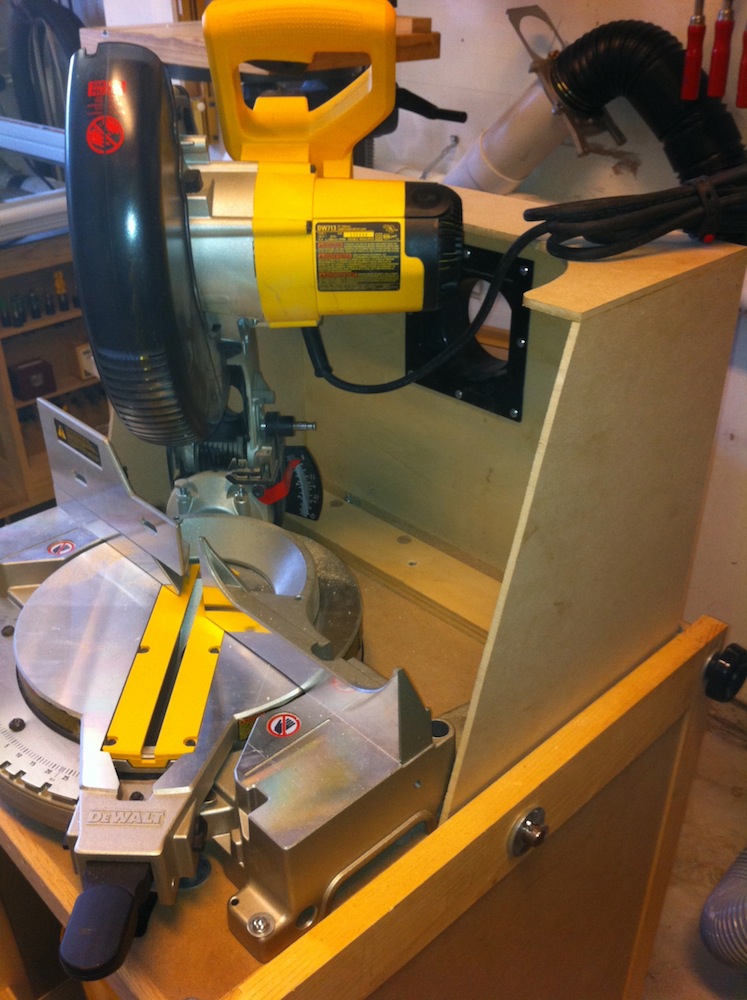
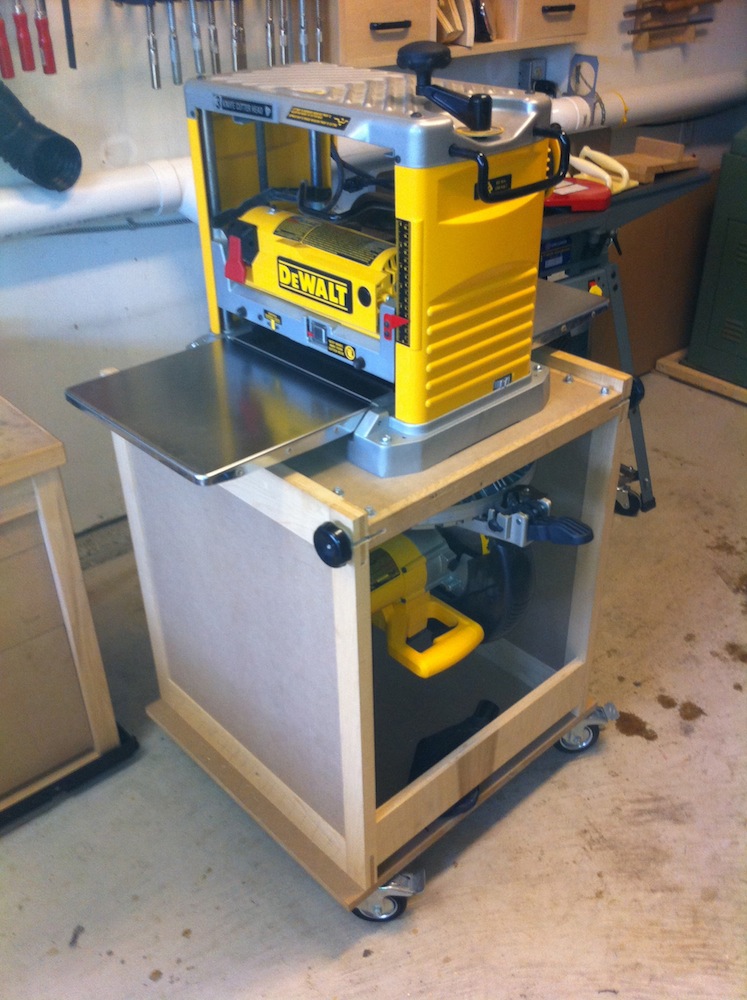
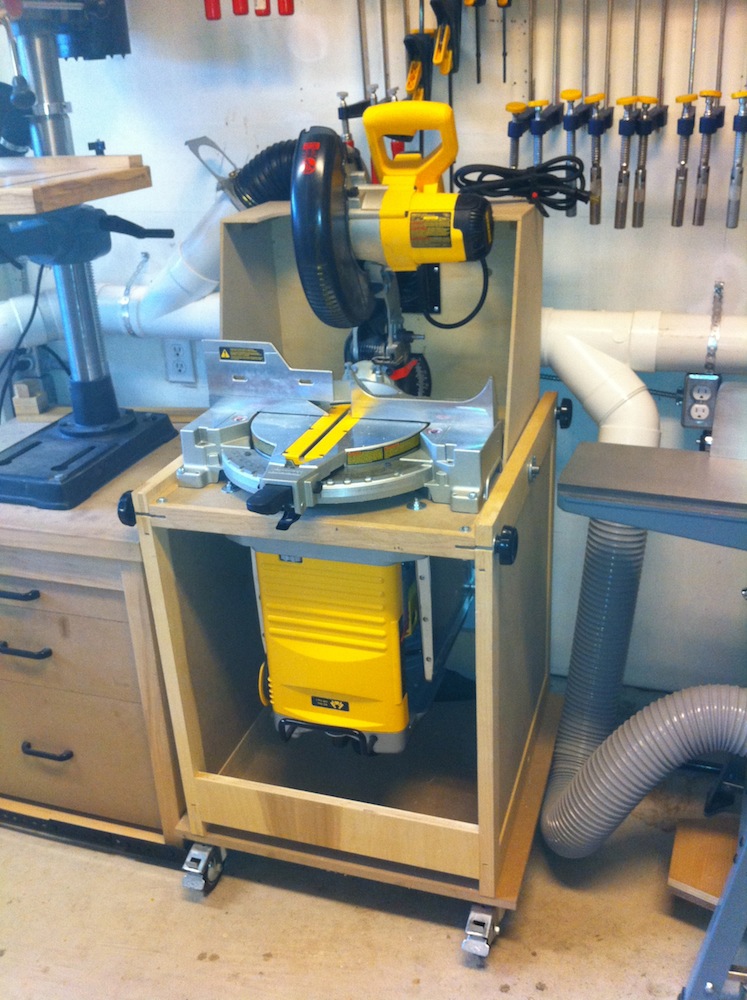
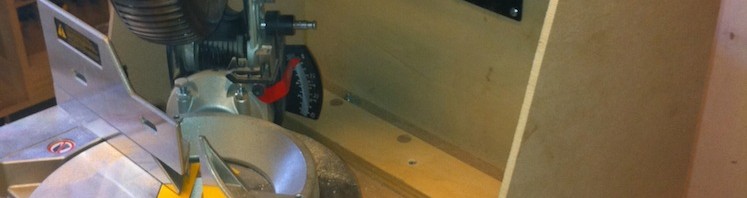
The only thing I’d say might be a bit different about my interpretation of this design is that I incorporated a dust shroud for my mitre saw because I hate sweeping up and choking on dust. As you can probably see in the photos, I have a 4″ PVC main line to my dust collector mounted at about bench height on my wall. The mitre saw port is a 4″ hold-tite hose that I picked up at Lee Valley. This connects to a 4″ dust port set into the back of my dust shroud. The hose fits loosely enough that when I roll the cart away from the wall, it just stays where it is, and when I roll it back up, I just line it up with the hose and roll it in – no fuss, and the dust collection works. I really like those hold-tite hoses and I’ve got one at my drill press and lathe too. For the planer, I unplug the dust hose from the nearby jointer and use that, although that’s not working so well because the hose tends to fall off its blast gate whenever I look at it the wrong way… need to address that.
The dust shroud is surprisingly effective for straight cuts, and I banged it together with a scrap 3/4″ ply back and 1/4″ hard board sides and top in about an hour. It’s sized so that I can mitre and bevel without hitting the sides. Dust collection suffers a bit when mitring, but most of the cuts I do are 90 degrees, so I don’t fret about it too much. I’ve seen more effective shroud designs out there, but since I didn’t originally design the cart with this shroud in mind, I had to compromise a bit.
The cart rolls on 4″ double-locking casters I got at Busy Bee Tools. These casters seem like a really good value to me. I just got some at $5.99 a piece on sale and they have a good weight rating. I have swivels on all four corners. I originally used 2 fixed and 2 swivels and found it a pain to get it exactly where I want it given how tight things are packed in to my space.
Comments: 5
[…] old planer was mounted on a flip-top tool cart that I built. This purchase has freed up a spot on this cart. I am currently weighing the value […]
I like your flip tool cart I am looking to build one and i like yours. anyway that i could get your plans. I am a Hobbiest and i don’t have a lot of room
Hi Jimmy – unfortunately, I didn’t take the time to draw out a detailed plan on this one, and I’ve lost my paper sketches. I loosely based it on stuff I found in magazines and on the web. The key design points are that the sides have to be rigid enough to prevent the box from collapsing sideways, the pin has to be strong enough to handle the weight of the machines and you need a locking mechanism to hold the top steady in place as you use the machines. I used 1/4″-20tpi eye bolts and plastic knobs to lock my top in place. A free step by step plan similar to what I built is here: http://www.instructables.com/id/COPYRIGHT-FREE-RE-LISTED-FLIPTOP-TOOL-STAND/
Nice job! What are the dimensions of the cabinet? I’ve been browsing several different designs, and I like the way you’ve put your cabinet together. Thanks in advance.
For these carts, the dimensions are entirely dictated by what you want to place on them. It wouldn’t be any use to go looking for a standard dimension. Start with the rotating top – all the other parts’ dimensions are derived from that. My mitre saw dictated the dimensions of the top because it has a larger footprint than my former planer. The planer was the taller machine, so it dictated the placement of the cross brace between the two side panels – there has to be enough room for the highest point on the planer to clear the cross brace as the top is flipped. My dust collection hood was actually an afterthought.
Comments are closed.