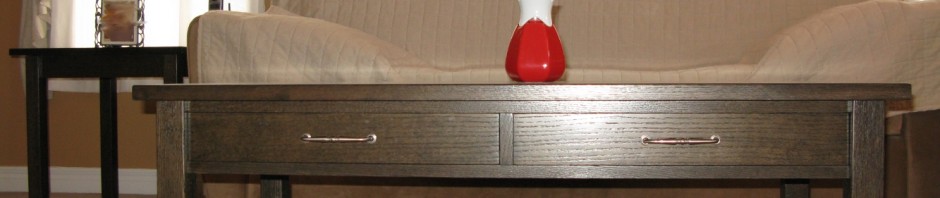
Coffee and End Tables
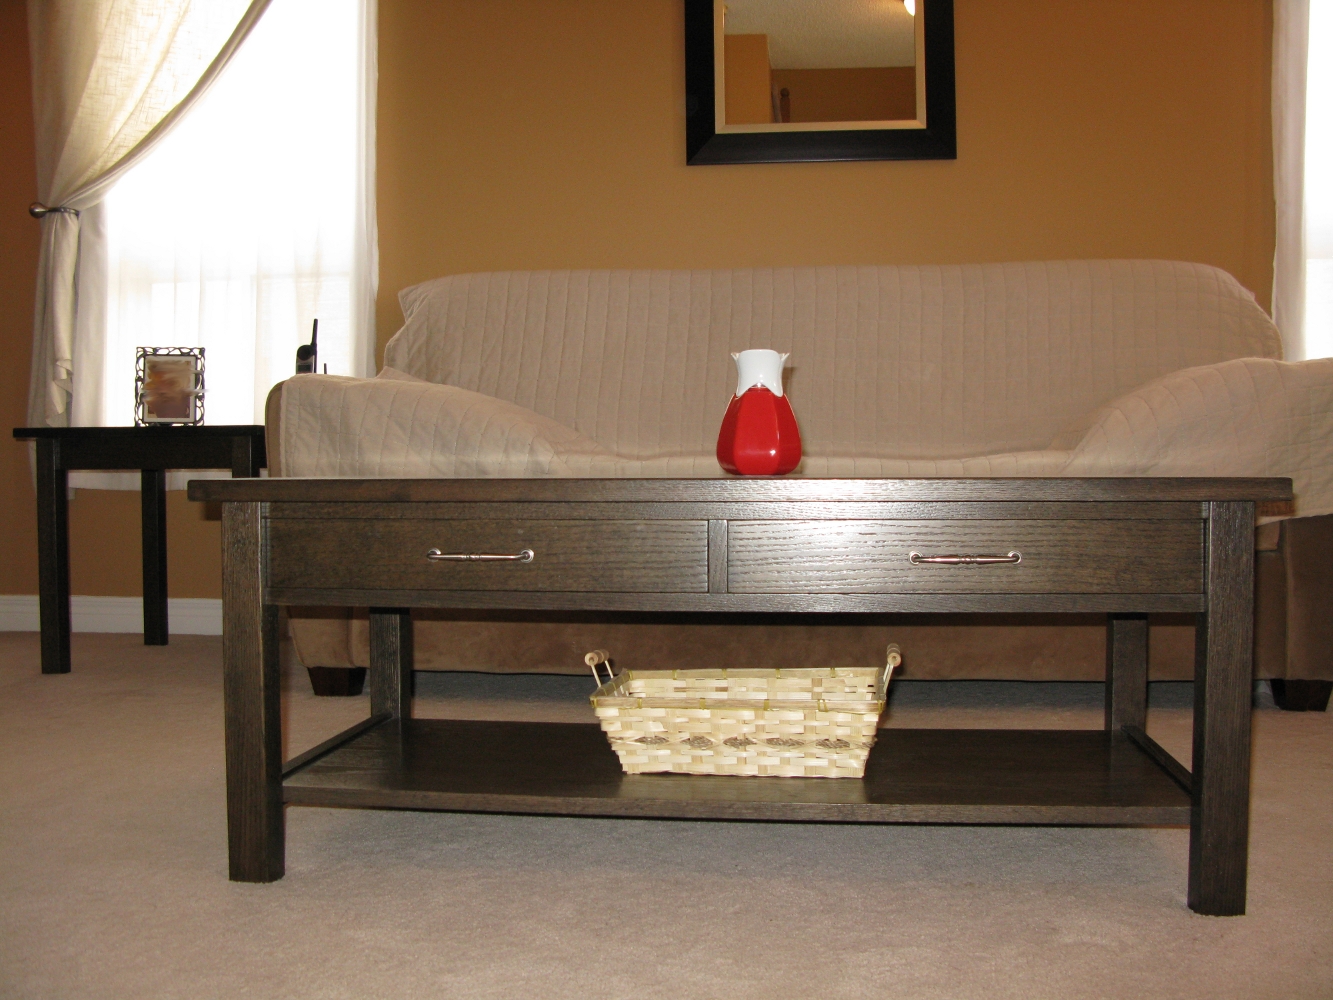
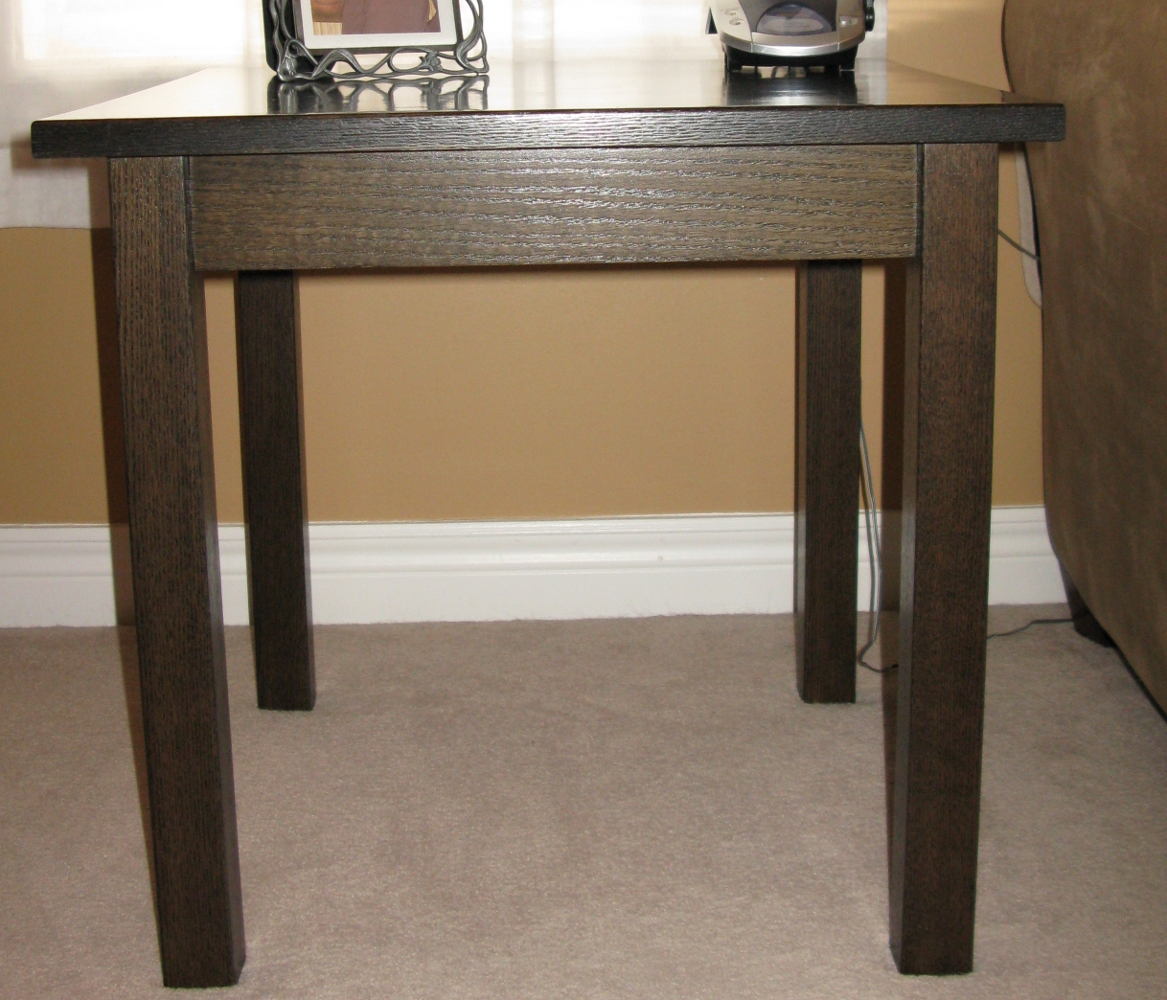
After building stuff for other people for a while, I decided it was time to build something for myself. This coffee table is solid red oak with maple drawers. This project had a few firsts for me. I paid particular attention to the grain orientation on the legs, skirts and drawers on this one, and I’m really happy that I did.
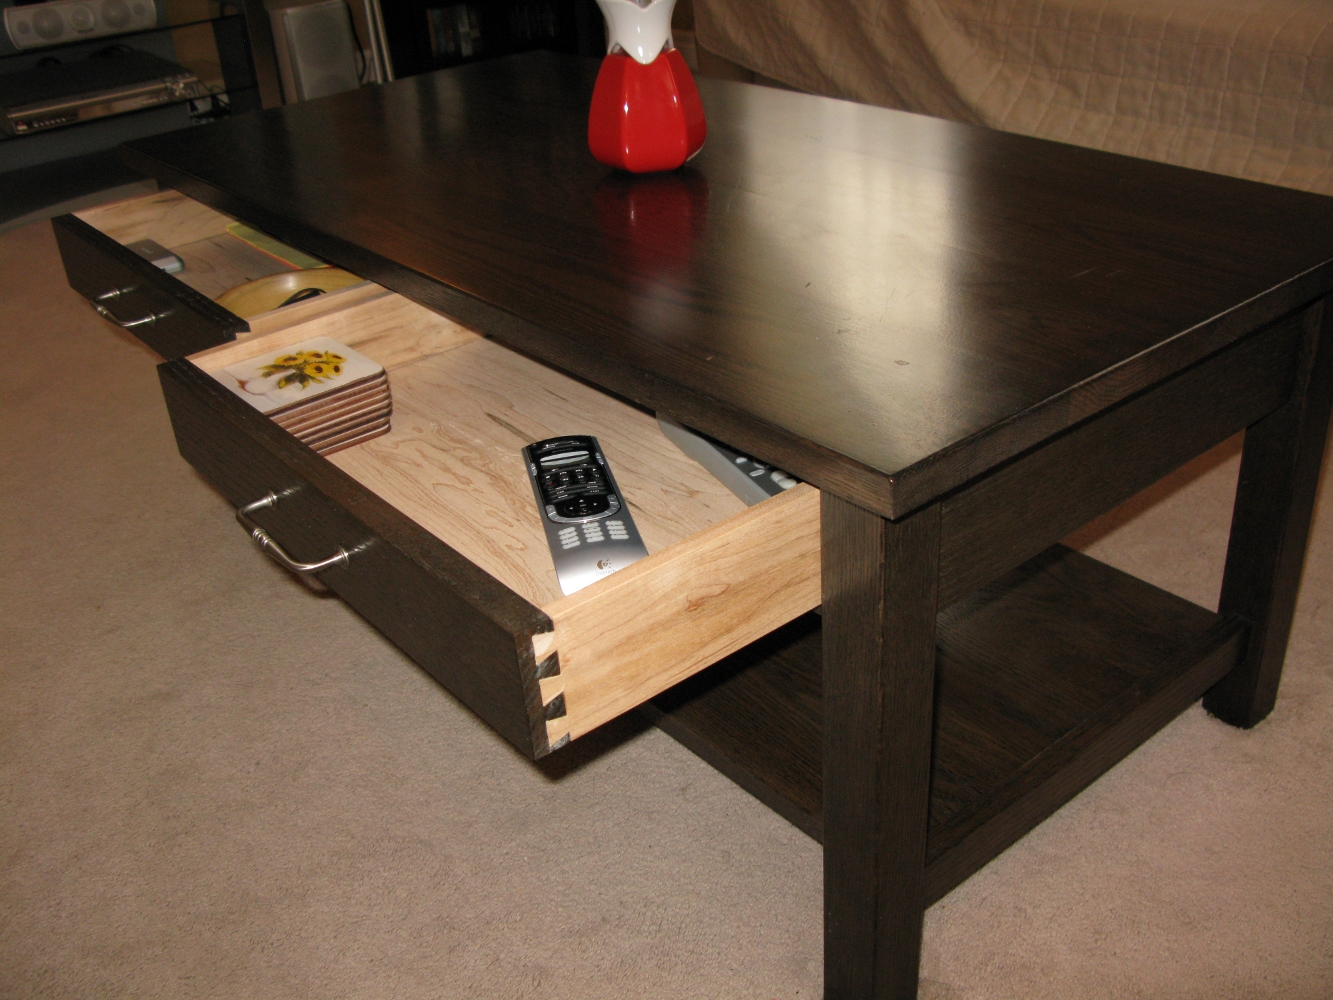
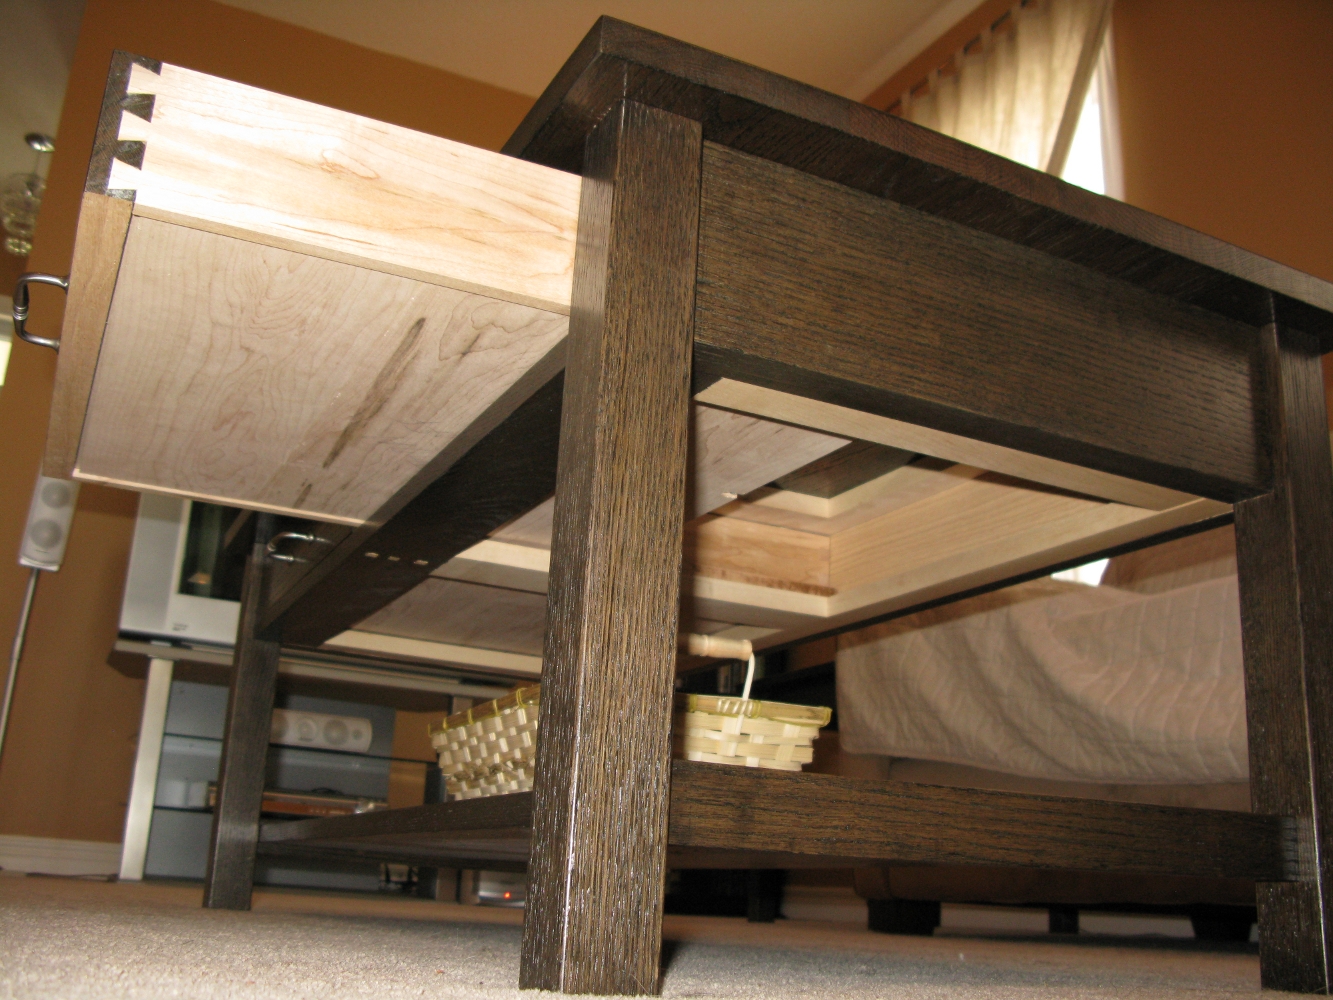
I also did my first solid wood drawers for this, which involved a considerable amount of resawing and thicknessing and fitting. Well worth it though – the difference in rigidity between a solid wood drawer bottom and a plywood drawer bottom really surprised me. The dovetails are machine-cut using an Incra Jig I picked up at a great price on clearance (caught it just as they released their latest version). I found doing half-blind dovetails with it MUCH easier than using the cheap dovetailing jig that I had tried and failed to use before.
The top for the coffee table in this set just about got the better of me. I bought a giant thick oak board for the thing intending to resaw it to get a nice thick top a bit thicker than 1″. The board had other ideas. After resawing, the board bent like you wouldn’t believe. I’ve since learned how to deal with that but at the time, I was really upset about it. My really expensive board was going to end up being 1/2″ thick if I planed it flat from that bow! That’s actually how the project came to include end tables – cutting these bowed boards in half made it possible to get tops for the end tables that were just a little thinner than 1″. So I went out and got another board – thicker this time, and thus, more expensive. And the bloody thing did the same thing. After planing it all nice and flat, I ended up with a top a bit shy of 1″. Not ideal, but I wasn’t going to try again.
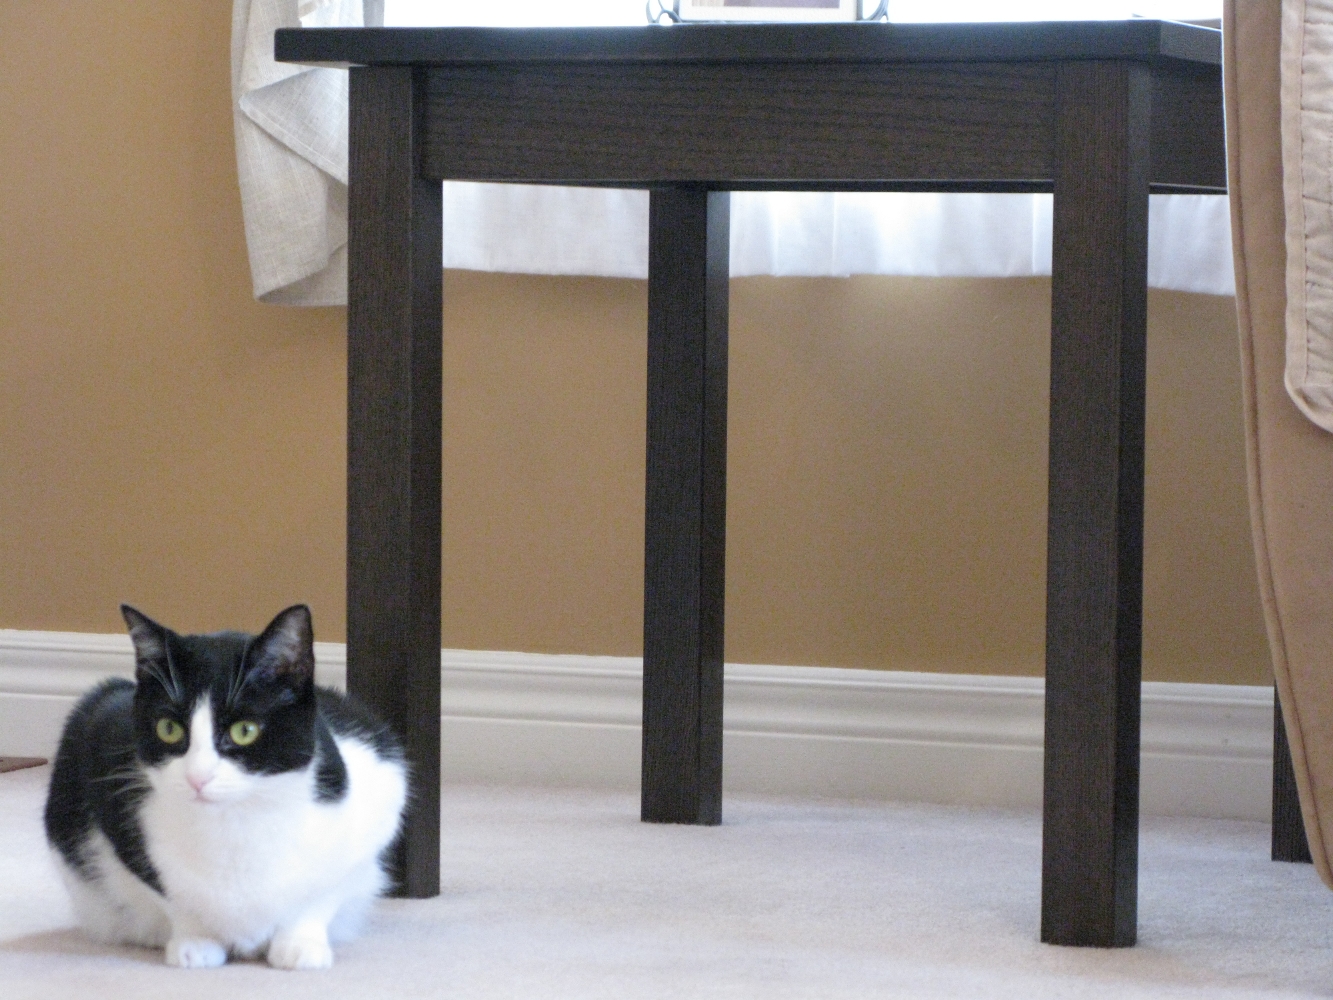
So then I wanted a filled-pore finish. This is easily the most used table in my house, so we wanted to be able to wipe it clean and not have stuff stuck in pores. I was using a gel-like waterborne filler that had given me good results on my walnut tea table. I made a critical error. Since these waterborne fillers are crystal clear, I decided to stain it first. What a terrible idea. Every time I tried to level the filler, I sanded through the stain. Not just a little – bad. I ended up sanding it back to the bare wood and starting over 3 times.
What I should have done was colour the filler black, apply it to the wood, sand that level, then stain it. To avoid sanding through the stain, I left the filler way too thick and I’m no expert, but I think this has really compromised the durability of the finish. In the end, I was too fed up with it to give it another go, so I settled for a result I wasn’t happy with on the top. It seems likely that at some point, I’ll either make a new top for this or stripping it and re-finishing it once again.