Tea Table in Walnut
This is the last of these tea tables that I’m going to make. After staring at the earlier versions for a while, I decided that I wanted to refine it a little and make this one feel a bit more delicate. I probably still didn’t go far enough with the lightening up but I don’t think I’ll be doing another one any time soon so this will have to do.
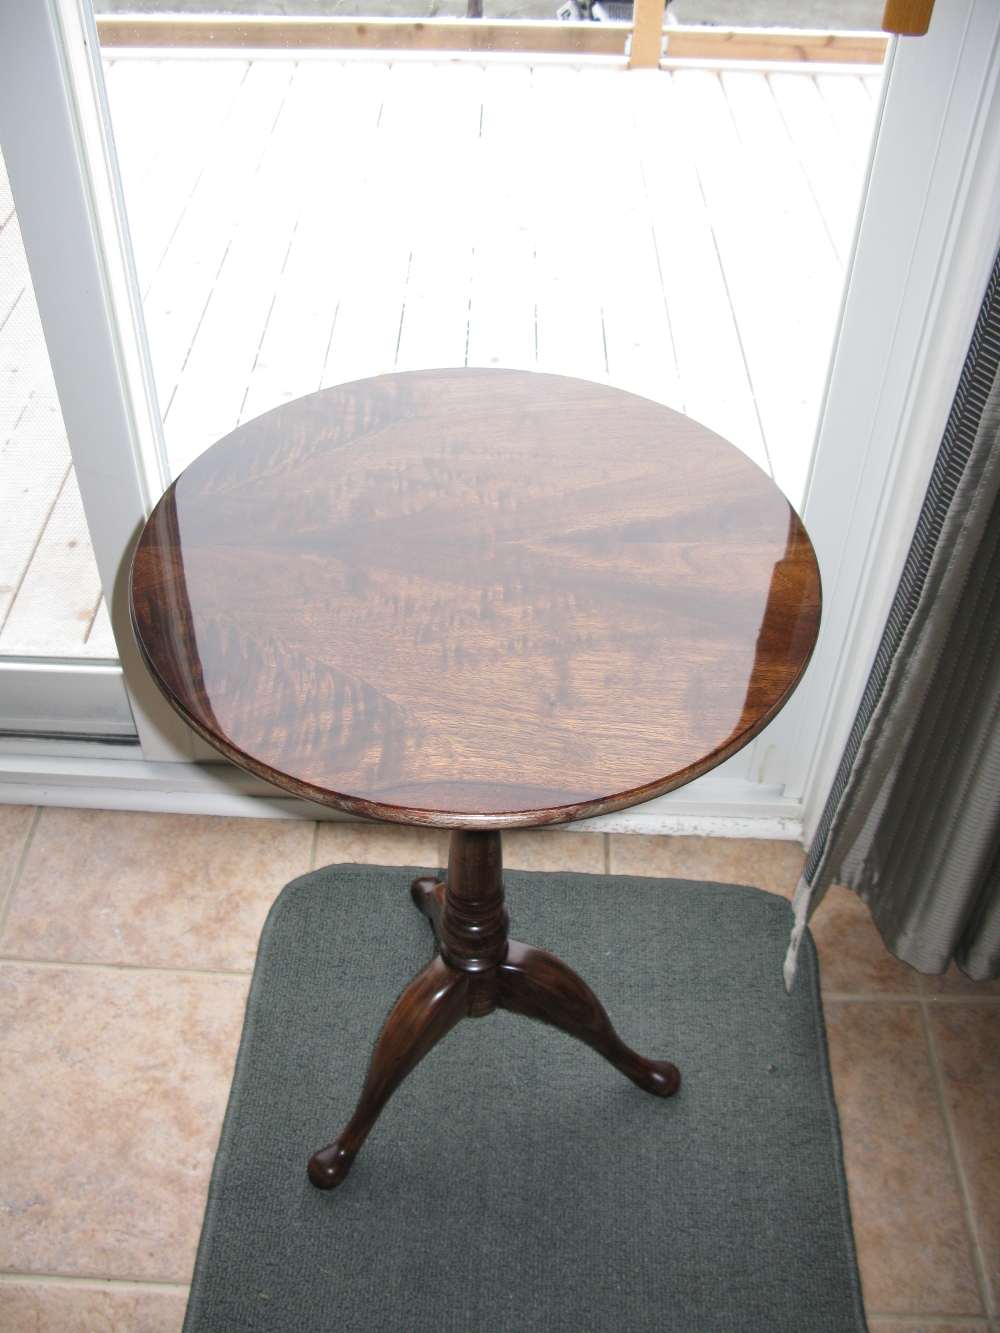
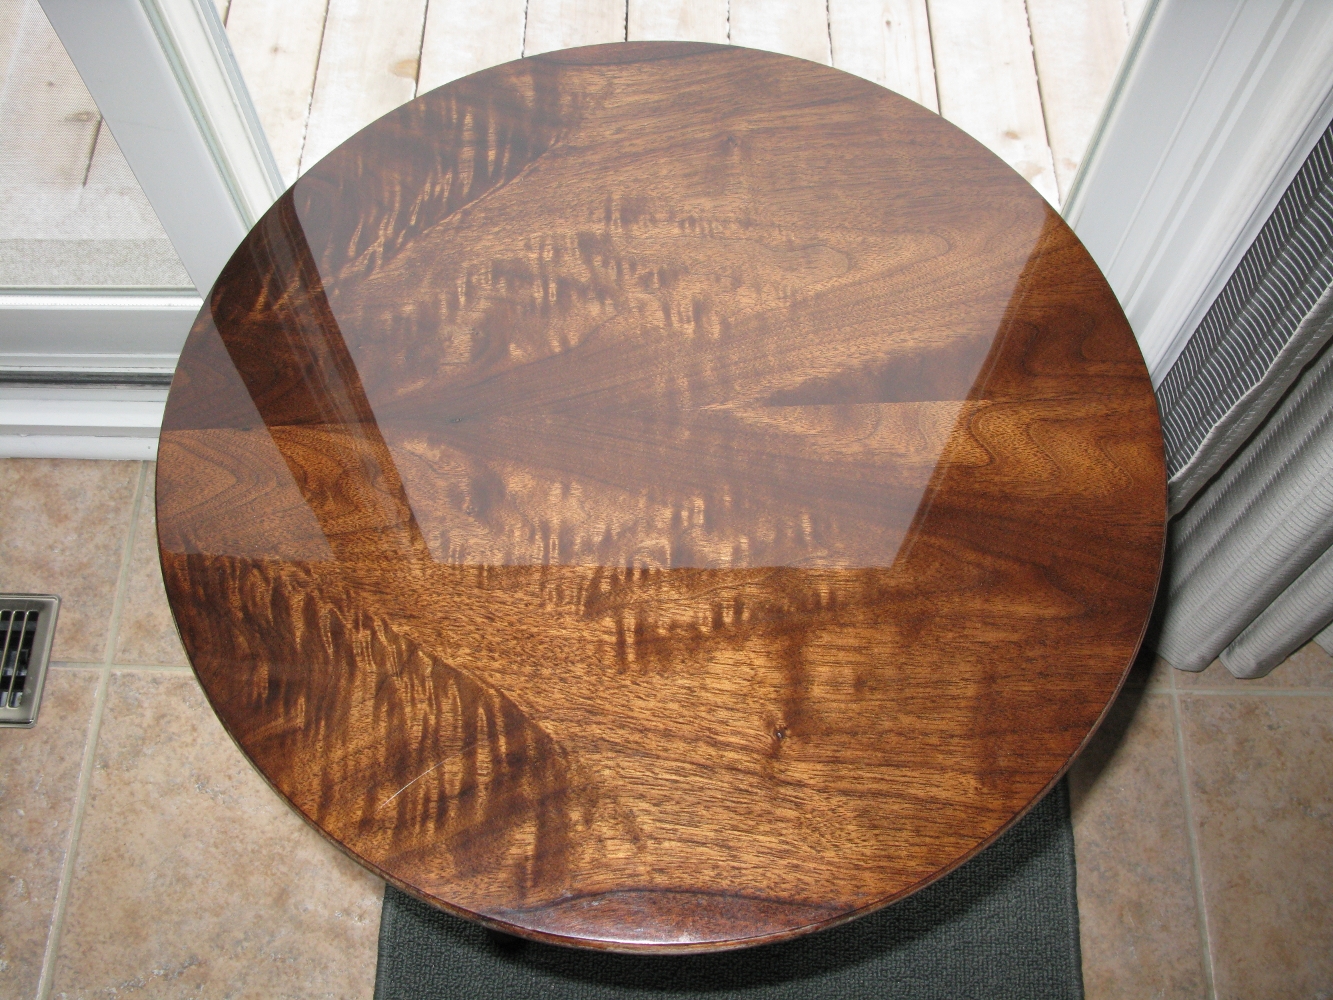
This one is solid walnut. I lucked out when visiting the lumber yard and happened upon a big pile of unsorted short pieces that they had just purchased from an estate sale. The owner was tremendously helpful and offered me a great price if I was willing to sift through the unsorted pile looking for what I was after – he figured every piece I took was one less his staff had to sort. I found the beautifully figured board that became the top of this table in that pile – it was precisely the size I needed. And I always thought that kind of thing only ever happens to the other guy…
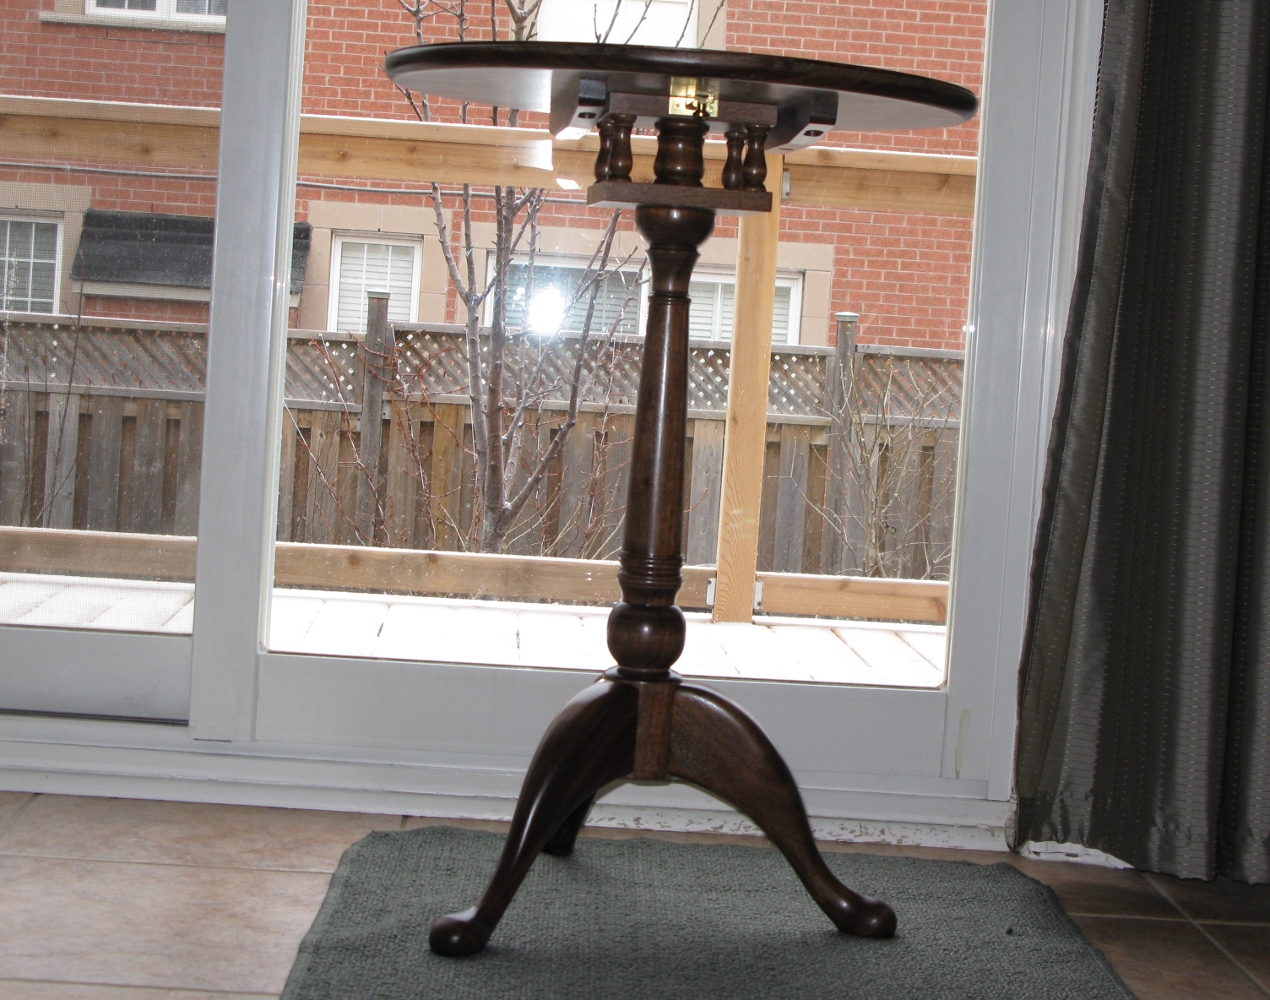
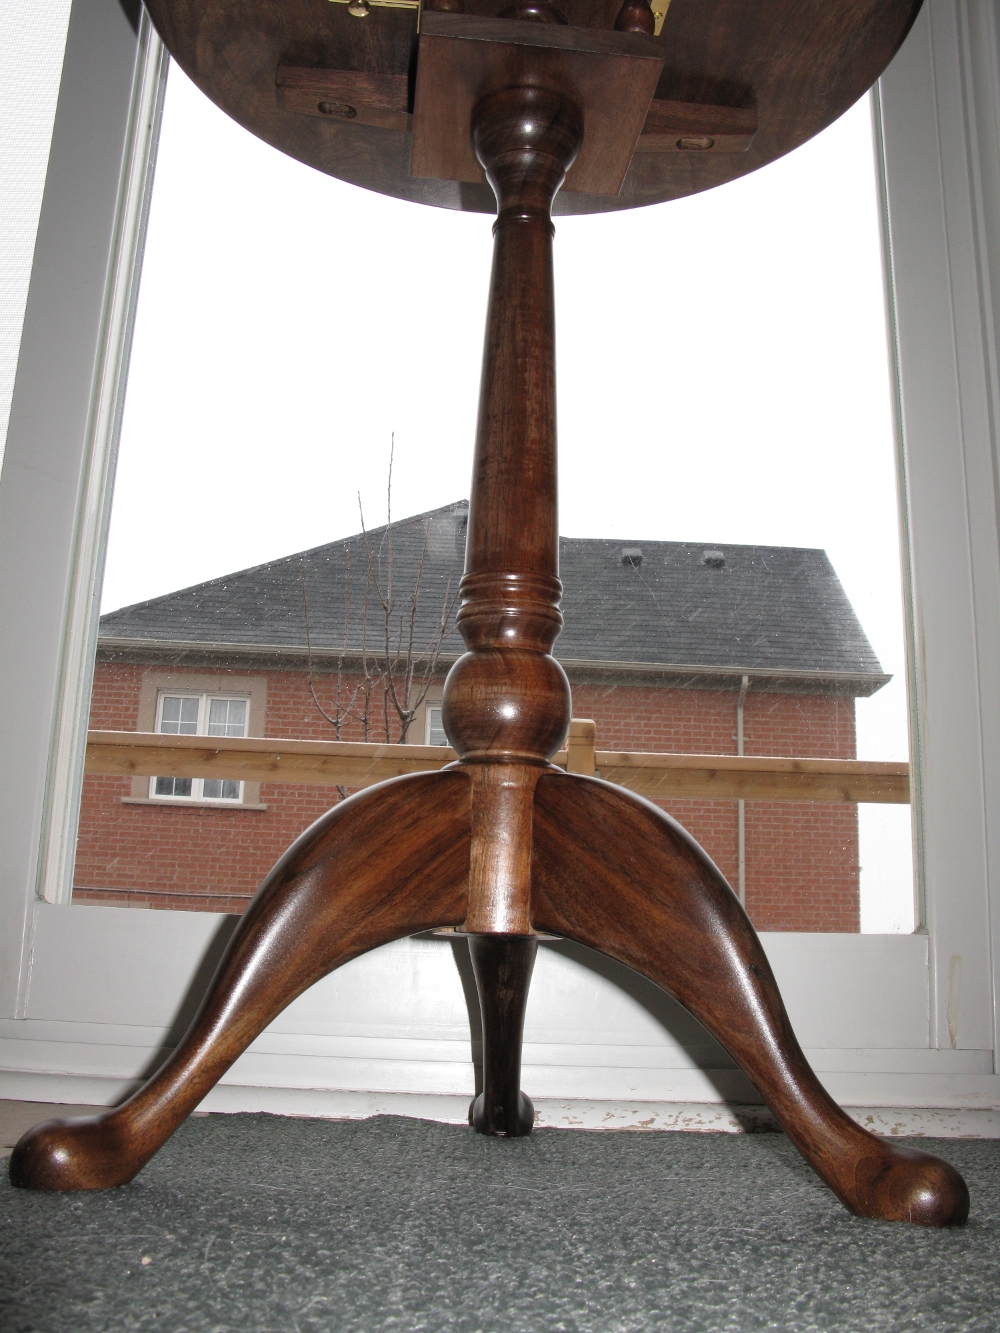
This being the third of these tables, I was able to build it pretty quickly – this one was about 25 hours of work start to finish. Instead of boiled linseed oil on this one, I used a bit of coloured danish oil to get the walnut to about the same colour as the other pieces in the room it was intended for. After that, it got some more of that same acrylic lacquer – satin for the bottom and gloss for the top.
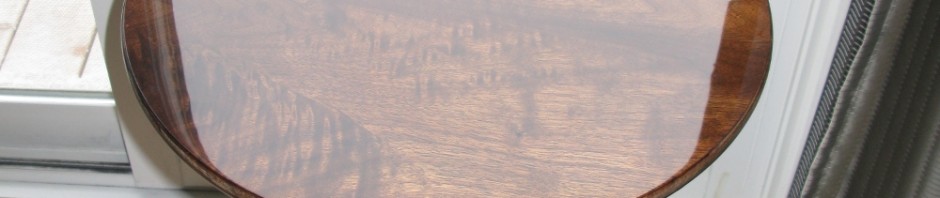
That mirror finish on the top was the only new thing I tried on this version. I dry-sanded with Micromesh sanding discs on my random orbit sander and wasn’t nearly as much work as one might guess looking at it. That took about an hour, and really, the only reason it took that long is that the Micromesh is so fine that it’s really hard to tell when you’ve removed all the scratches from the previous grit so I kept having to back up a few grits to clean up scratches that the really fine ones revealed. I’m really happy with how the top came out.